
https://github.com/ClusterM/coolgirl-famicom-multicart
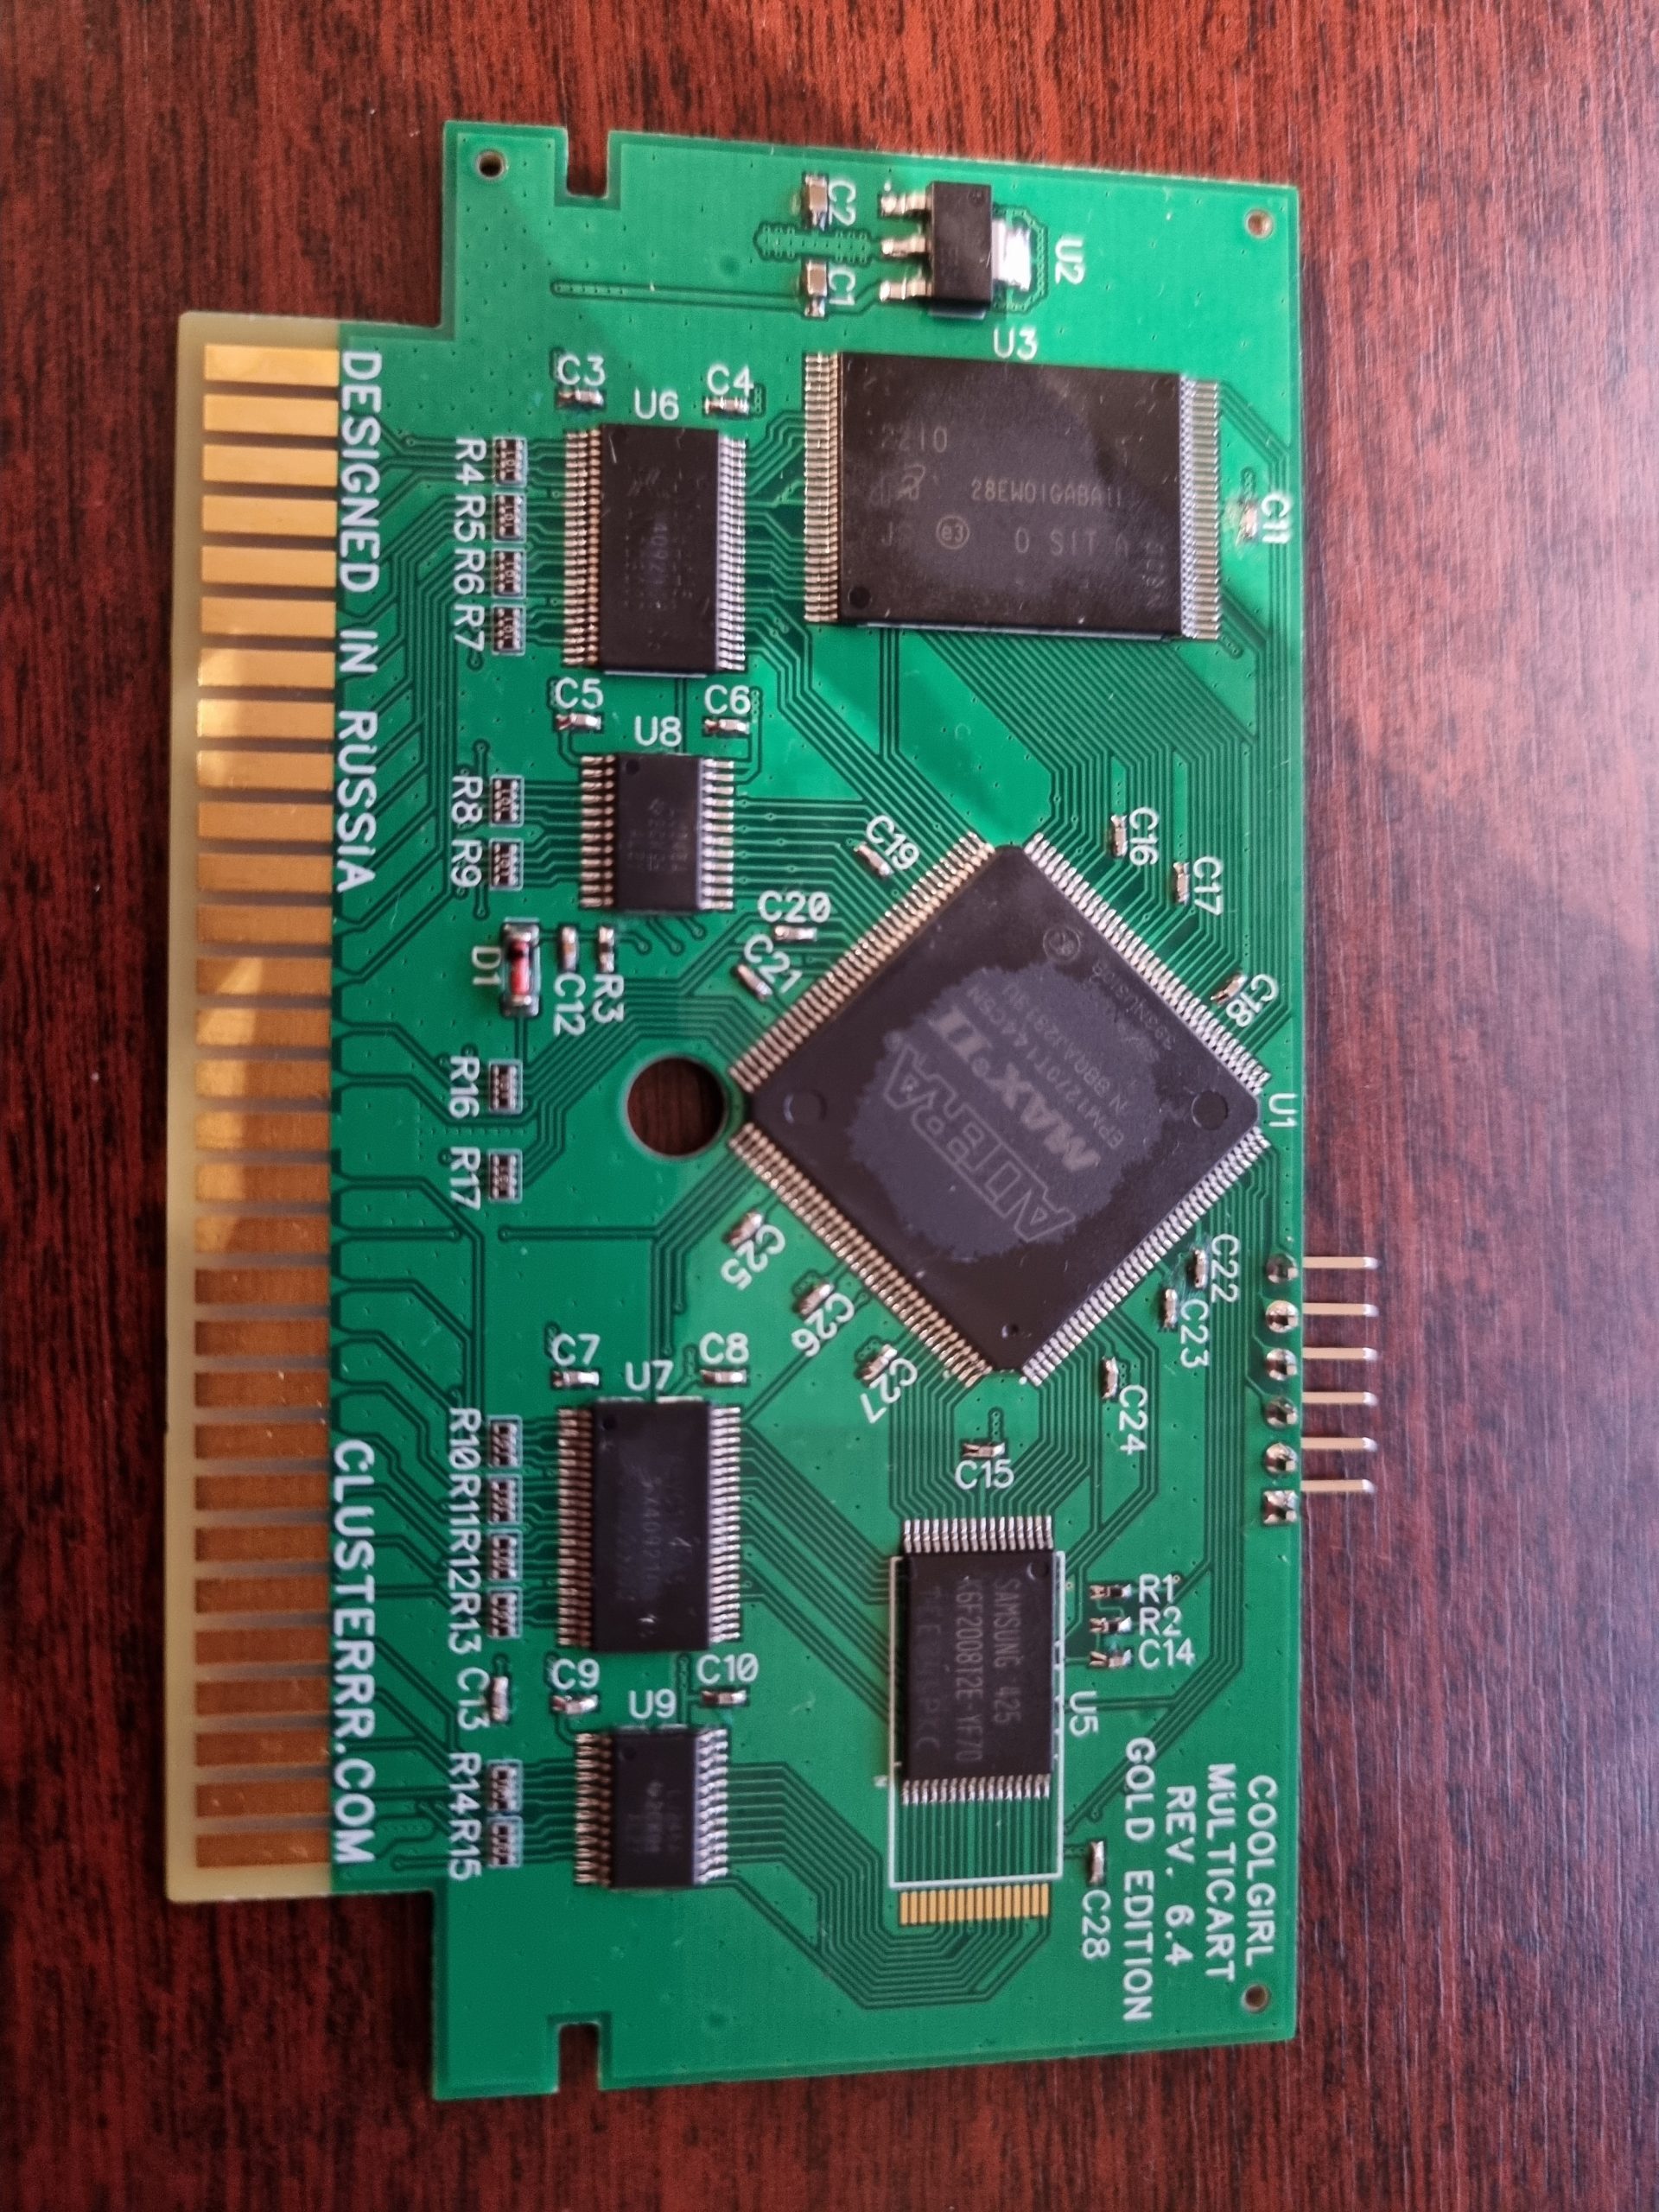
I remember looking a the Coolgirl PCB image for the first time and it looked intimidating, I thought I will need a soldering stencil for this and use solder paste. Which I actually ordered with the PCB. Since then my equipment was upgraded to the pro level stuff and I also did PS1 and PS2 HDMI mods. Since working with solder paste is messy, I decided to do it with just a soldering iron pin by pin. I was astonished how easy it actually was, I did a few bridges when attaching IC’s to PCB, but they were easily cleaned with soldering wick. One time when soldering one side of IC the other side got misaligned, so I had to heat it with hot air to align. Otherwise it’s impressive how a professional tools makes life easier. And of course after soldering PS2 HDMI mod flexes I was so happy you can actually align the IC pins to the PCB pads ideally (which might sound silly if you did not tried soldering those flexes).
As it often happen with these kind of projects you think you have all you need, but it appears not. In my case I also realized that I need programmer that I do not have to flash a bootloader and ROM dumper to actually write games to it. Doh. Luckily I got dumper PCB from Luigi, as he was also doing the same project. Ordered programmer and parts for dumper from Digikey and some from Ali. Then while soldering the cartridge I found out that one IC is mismatched and one IC I could not find (one that was ordered from Ebay and maybe even never came…). So had to order two more IC’s from Chinese, because they are out of stock (and probably EOL) everywhere. That’s the reality of sourcing components for DIY projects.
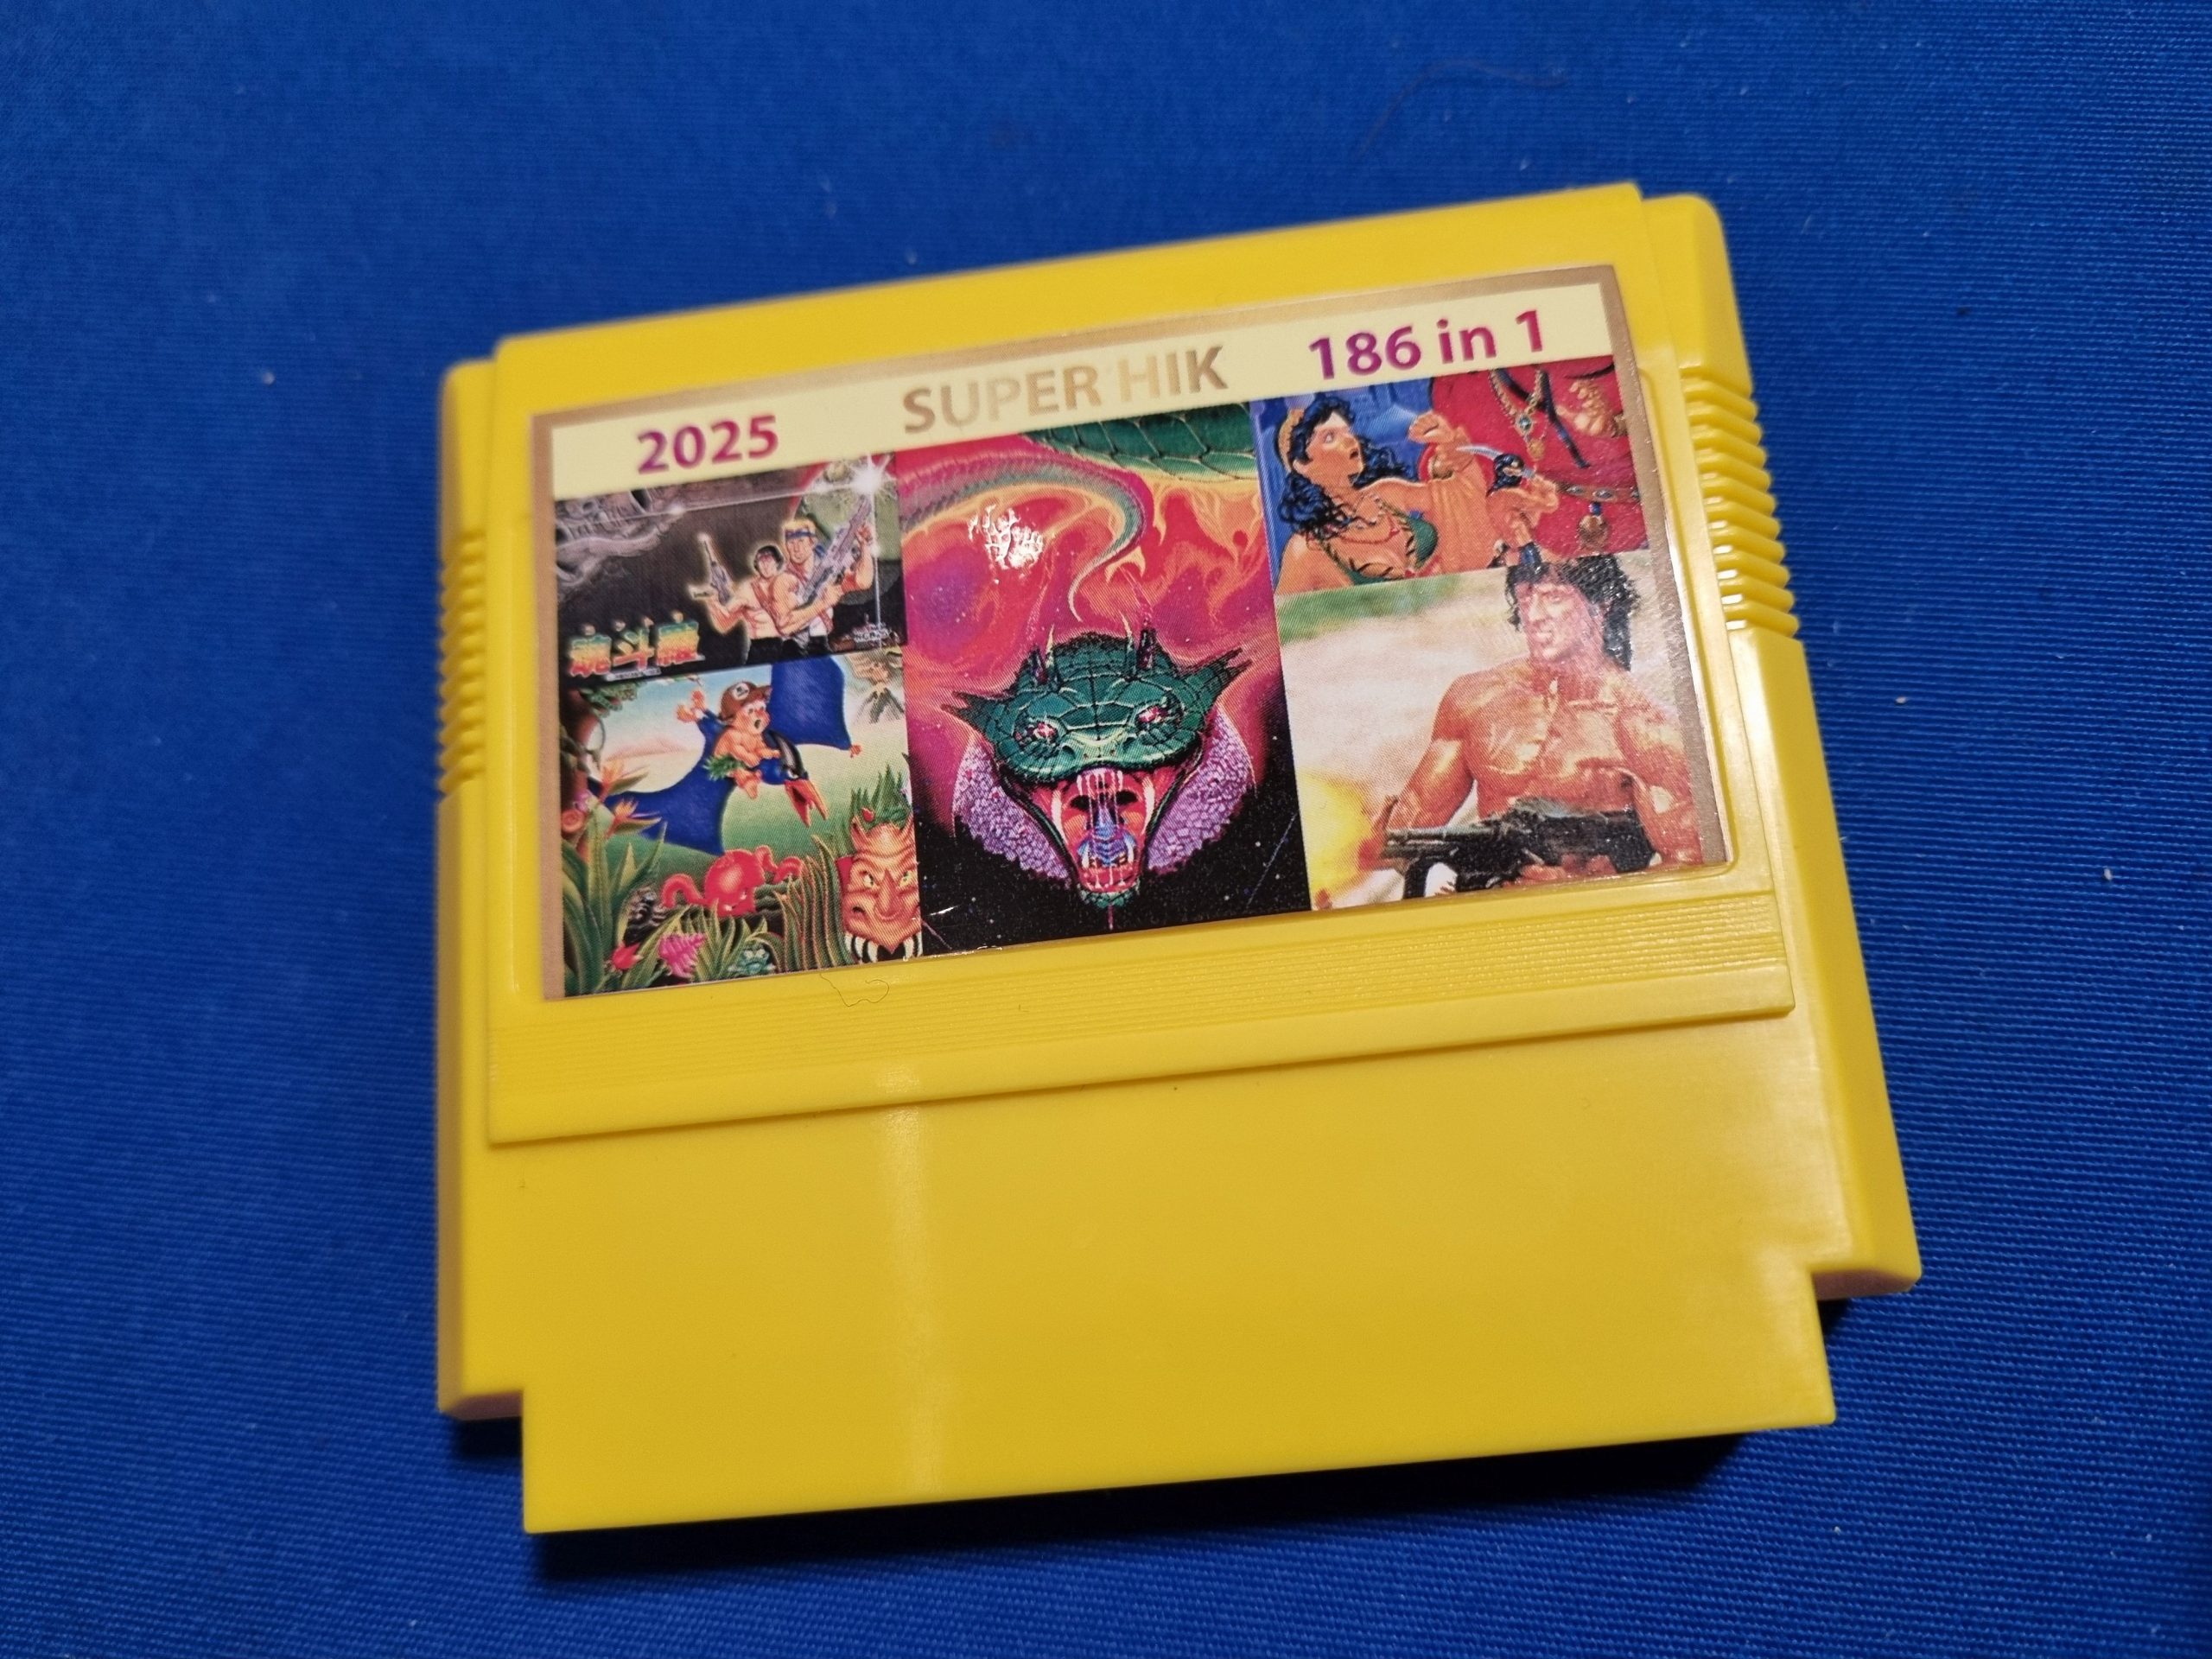
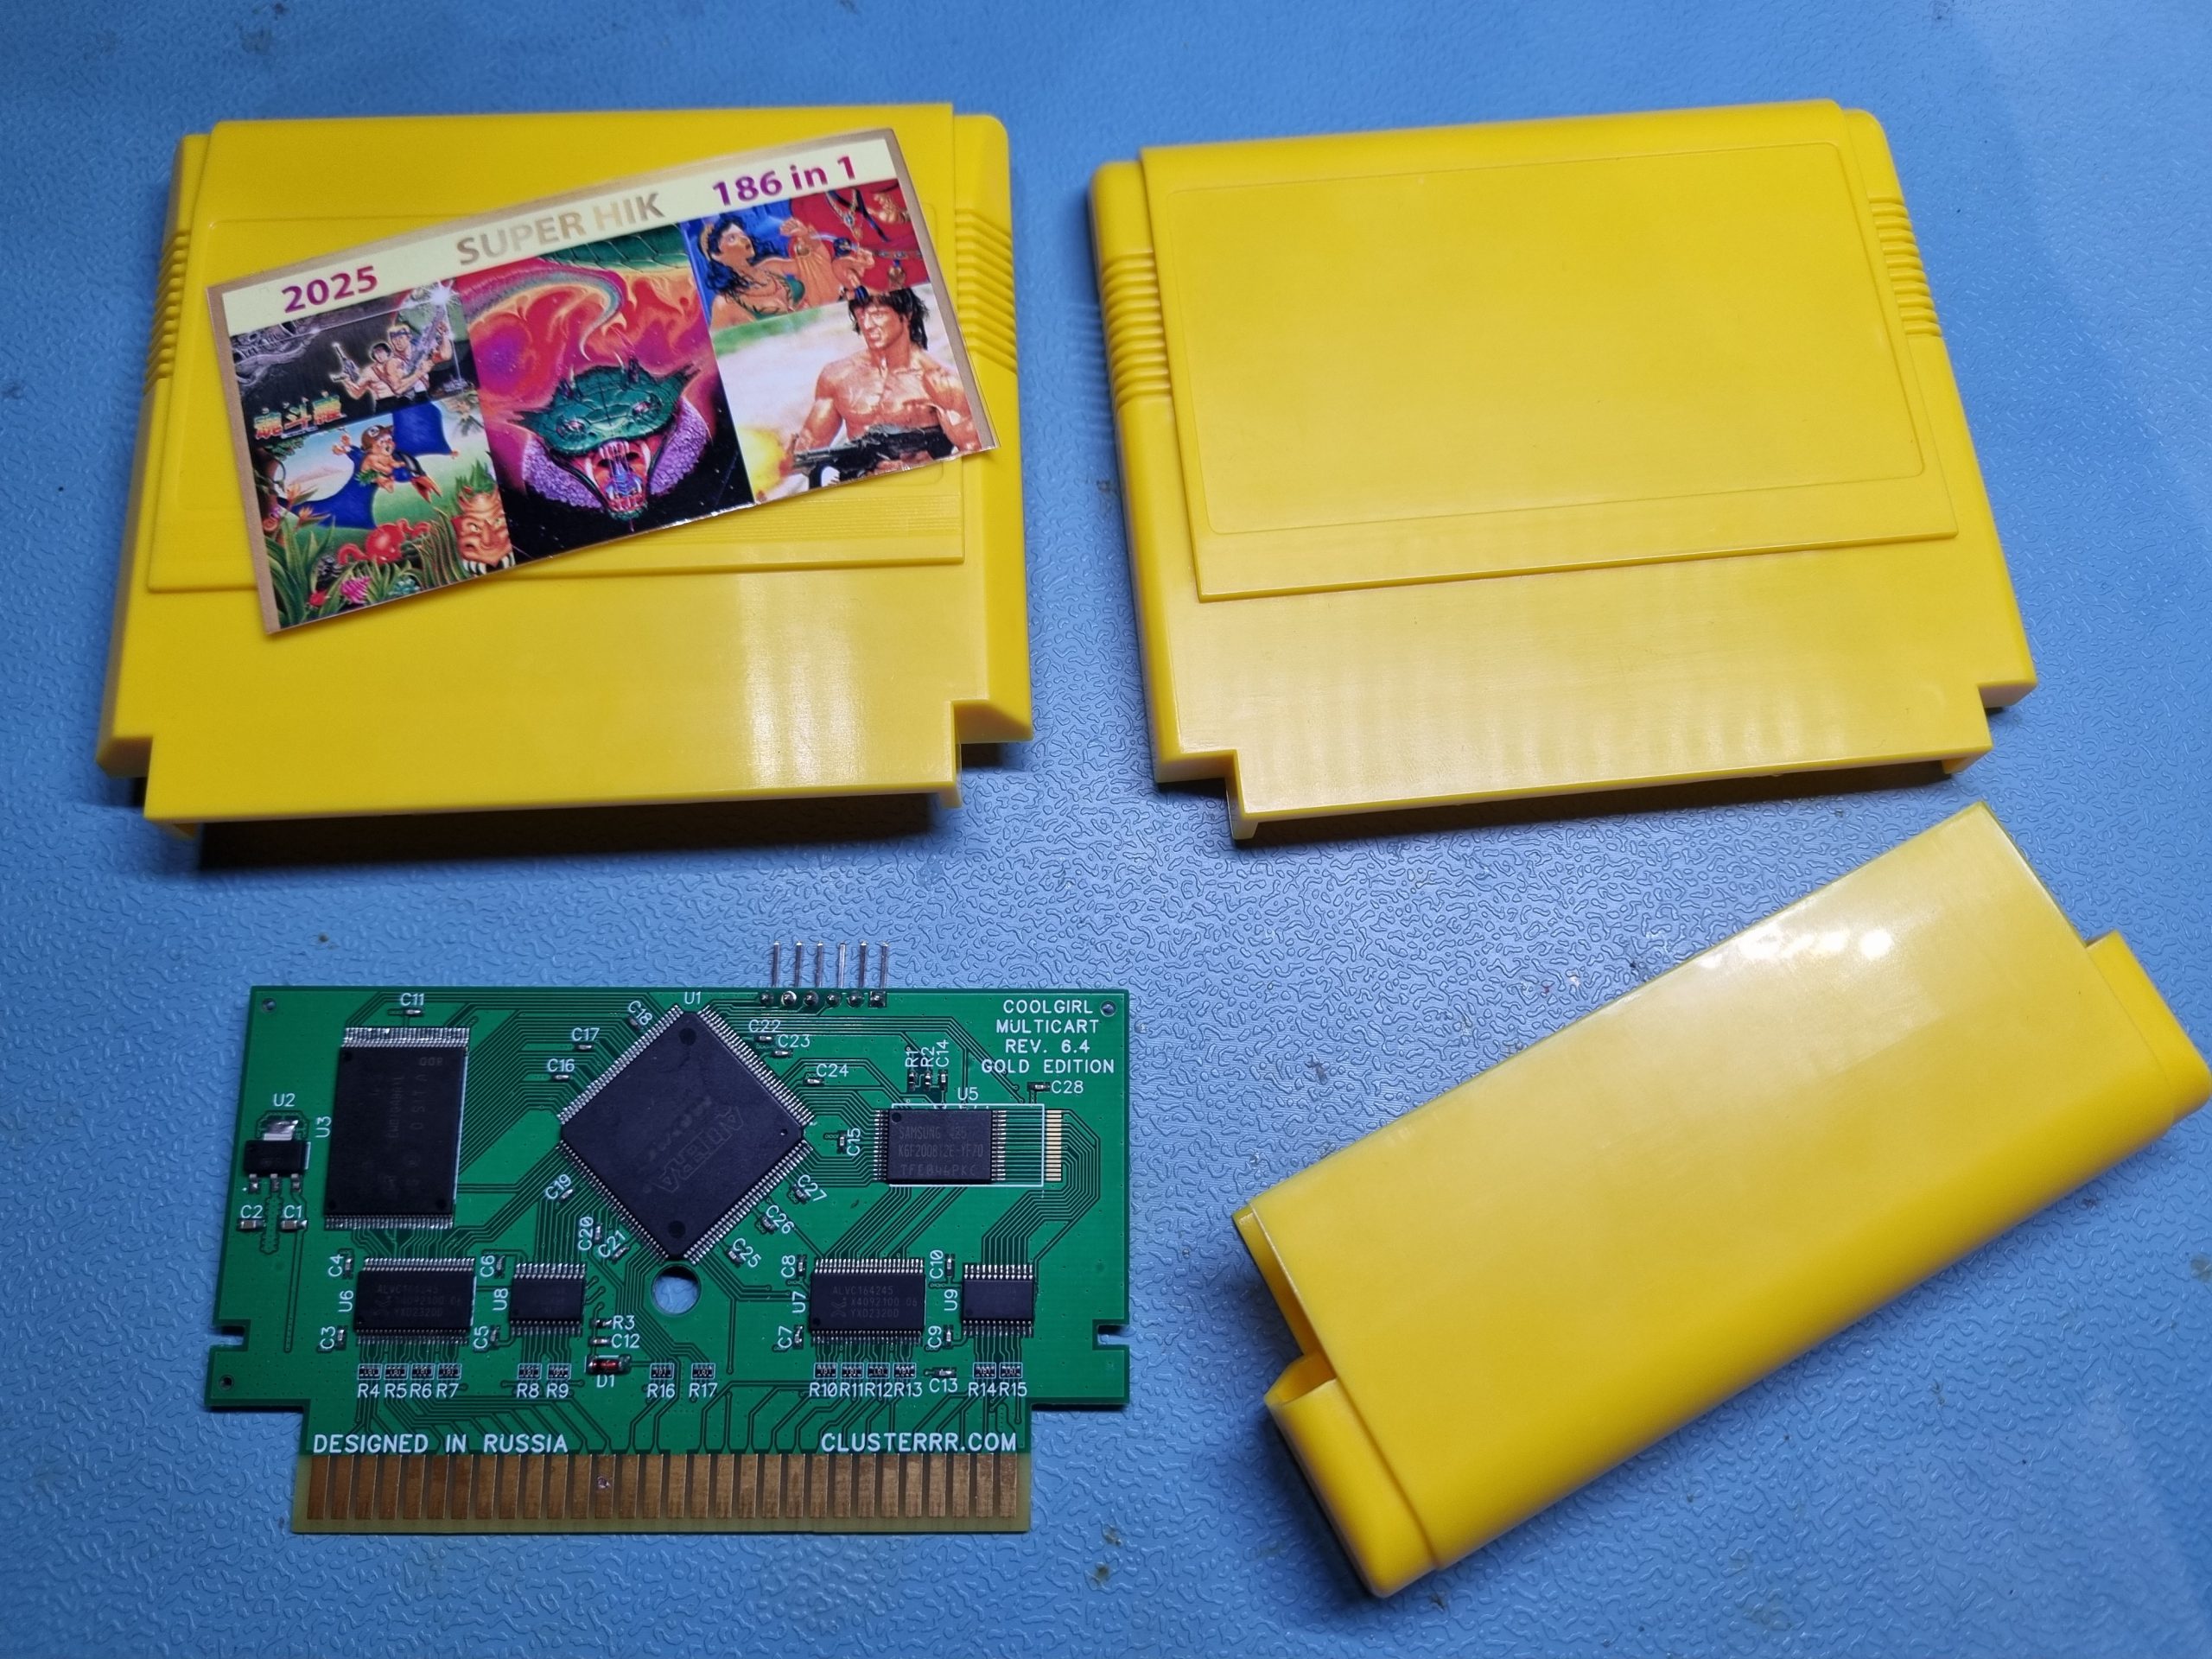
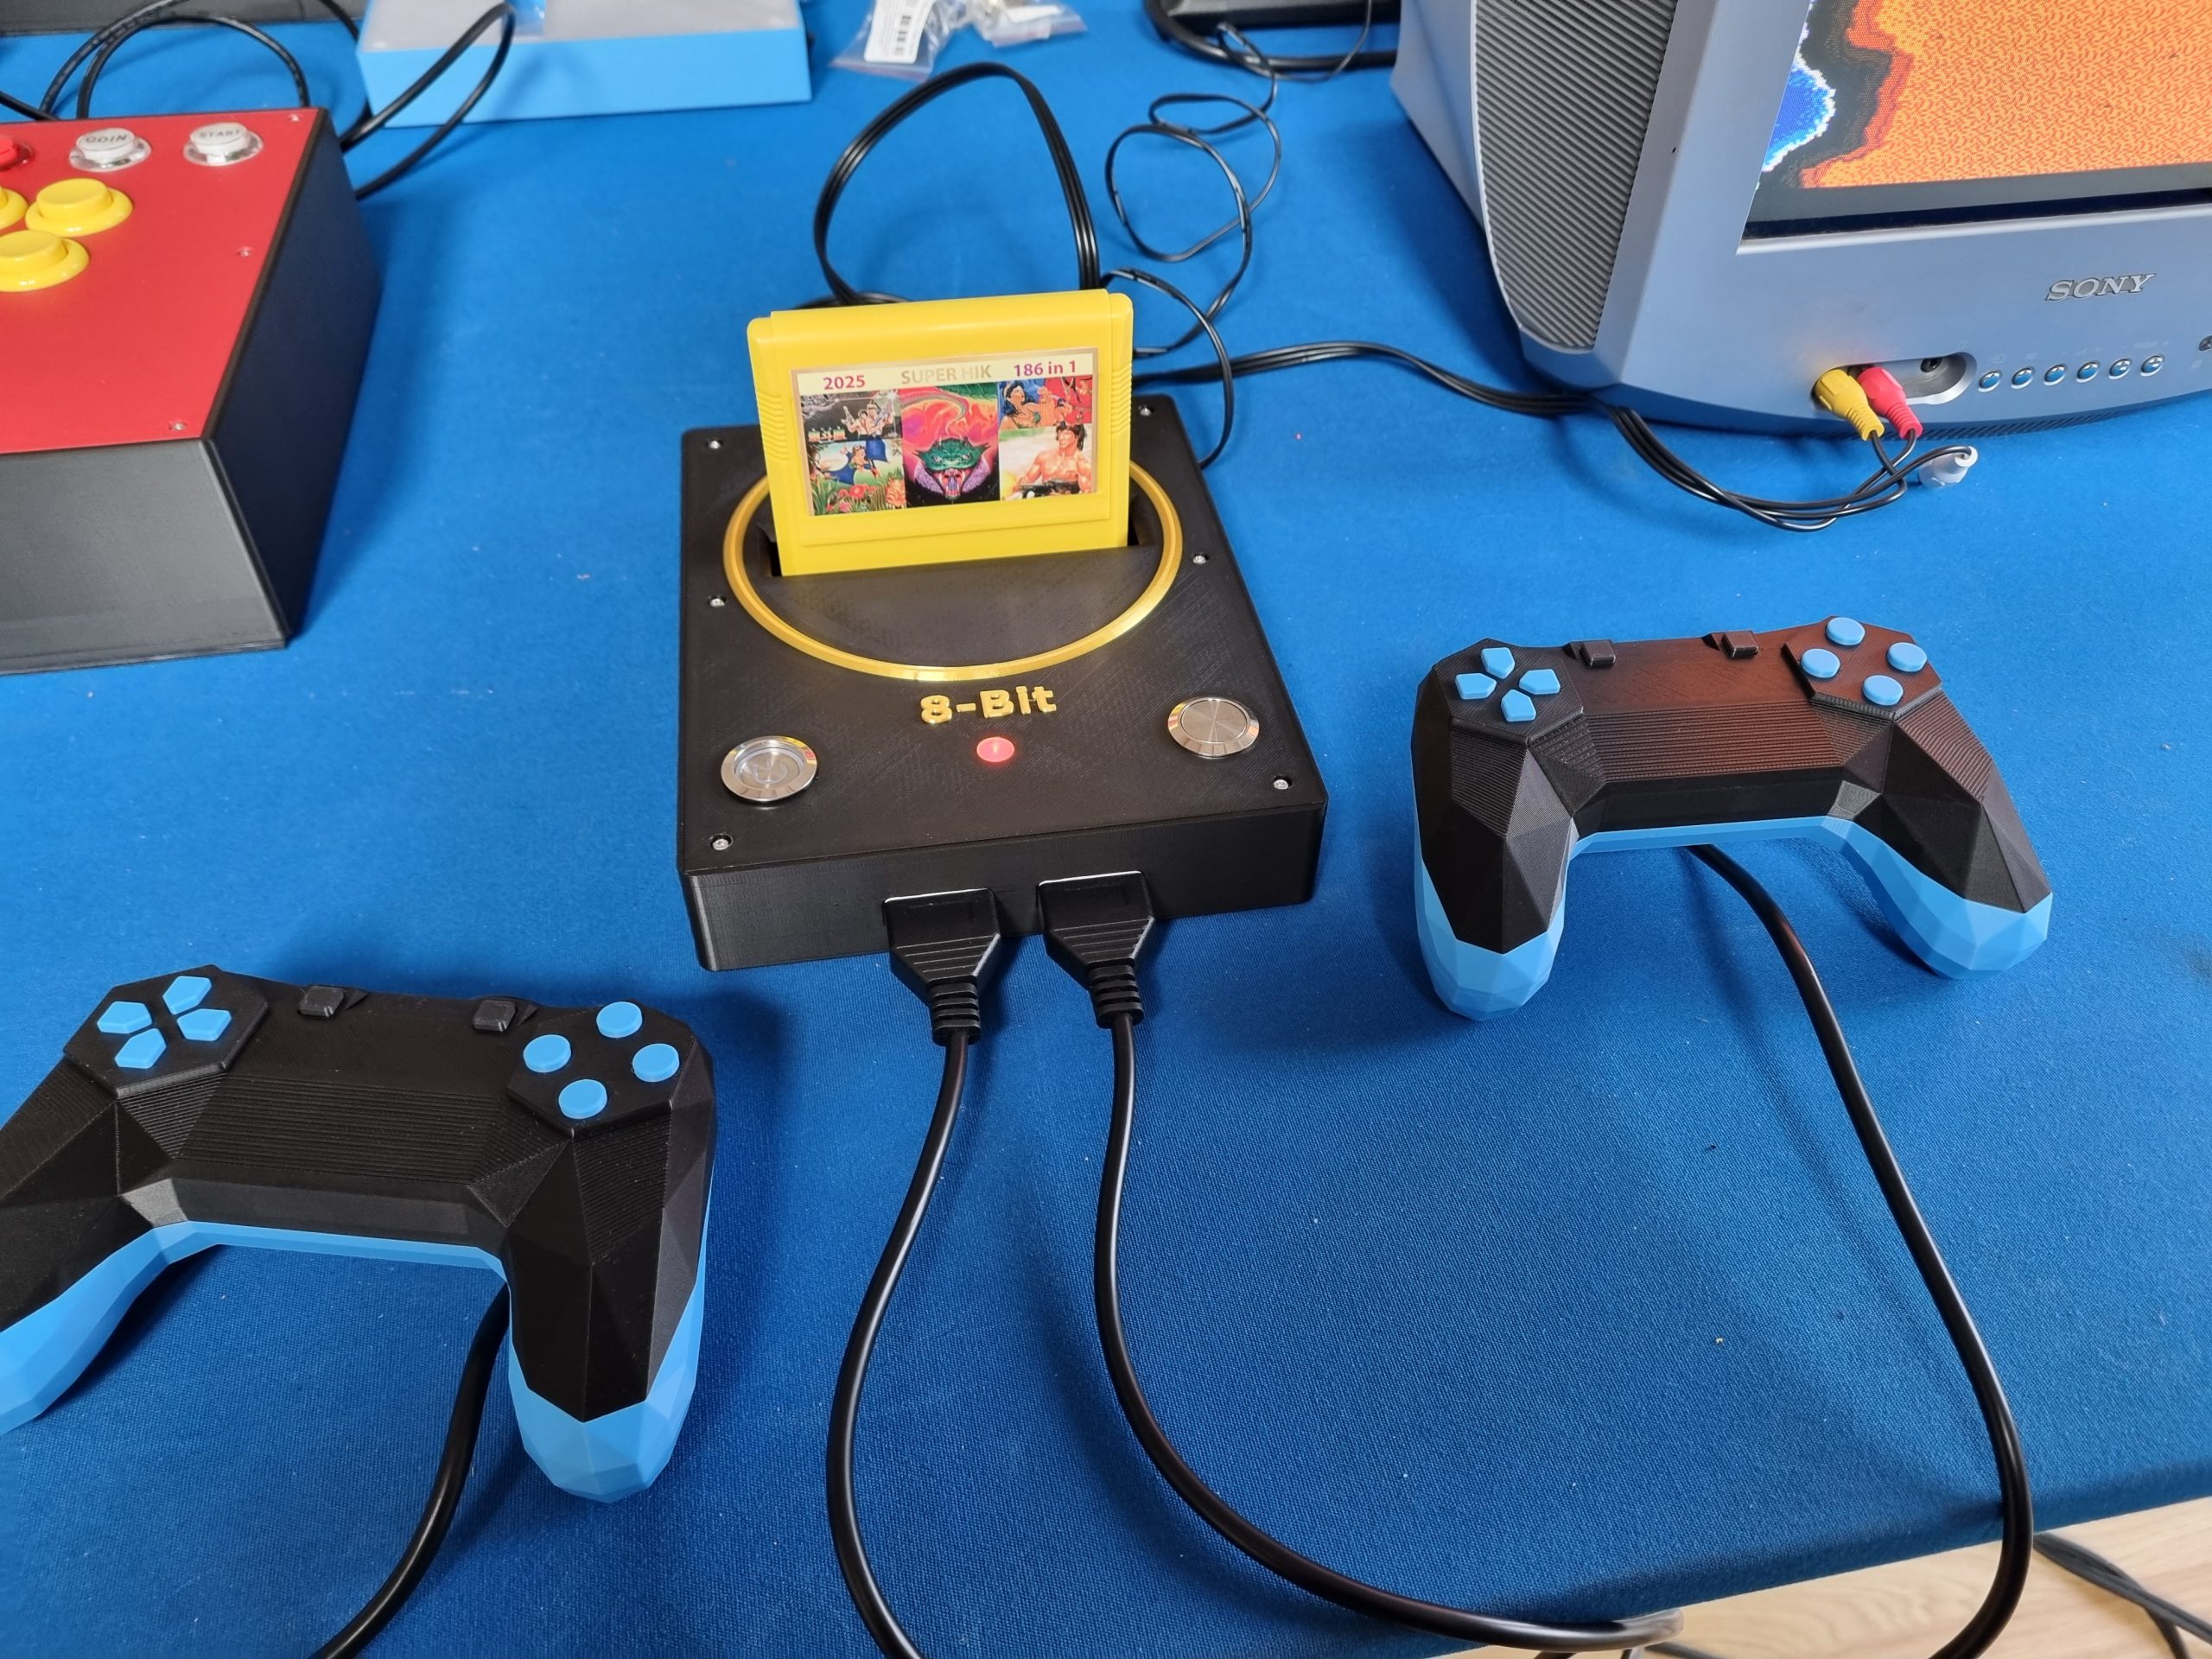
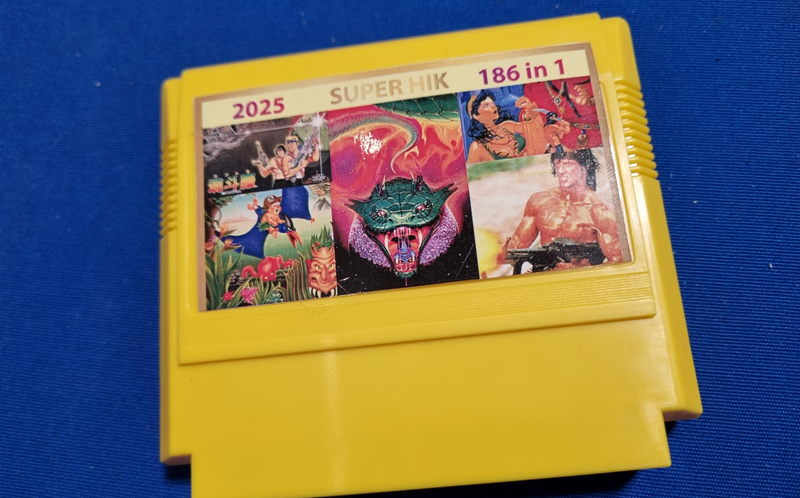
The cart came out well. Two carts actually since I had components for two. I even designed the sticker in the style of 90s counterfeits. New yellow case can be ordered from Ali. Now the problem was with the Famicom Dumper. I believe I soldered everything correctly and components were correct, but upon powering the RGB LED has literally exploded on me, still after that it somewhat worked, but something was still off. What I managed is to dump an original Contra cartridge for Famicom, but could not program the Coolgirl. I’ve sent carts to Luigi and he successfully programmed the them with his own programmer.
https://github.com/ClusterM/famicom-dumper
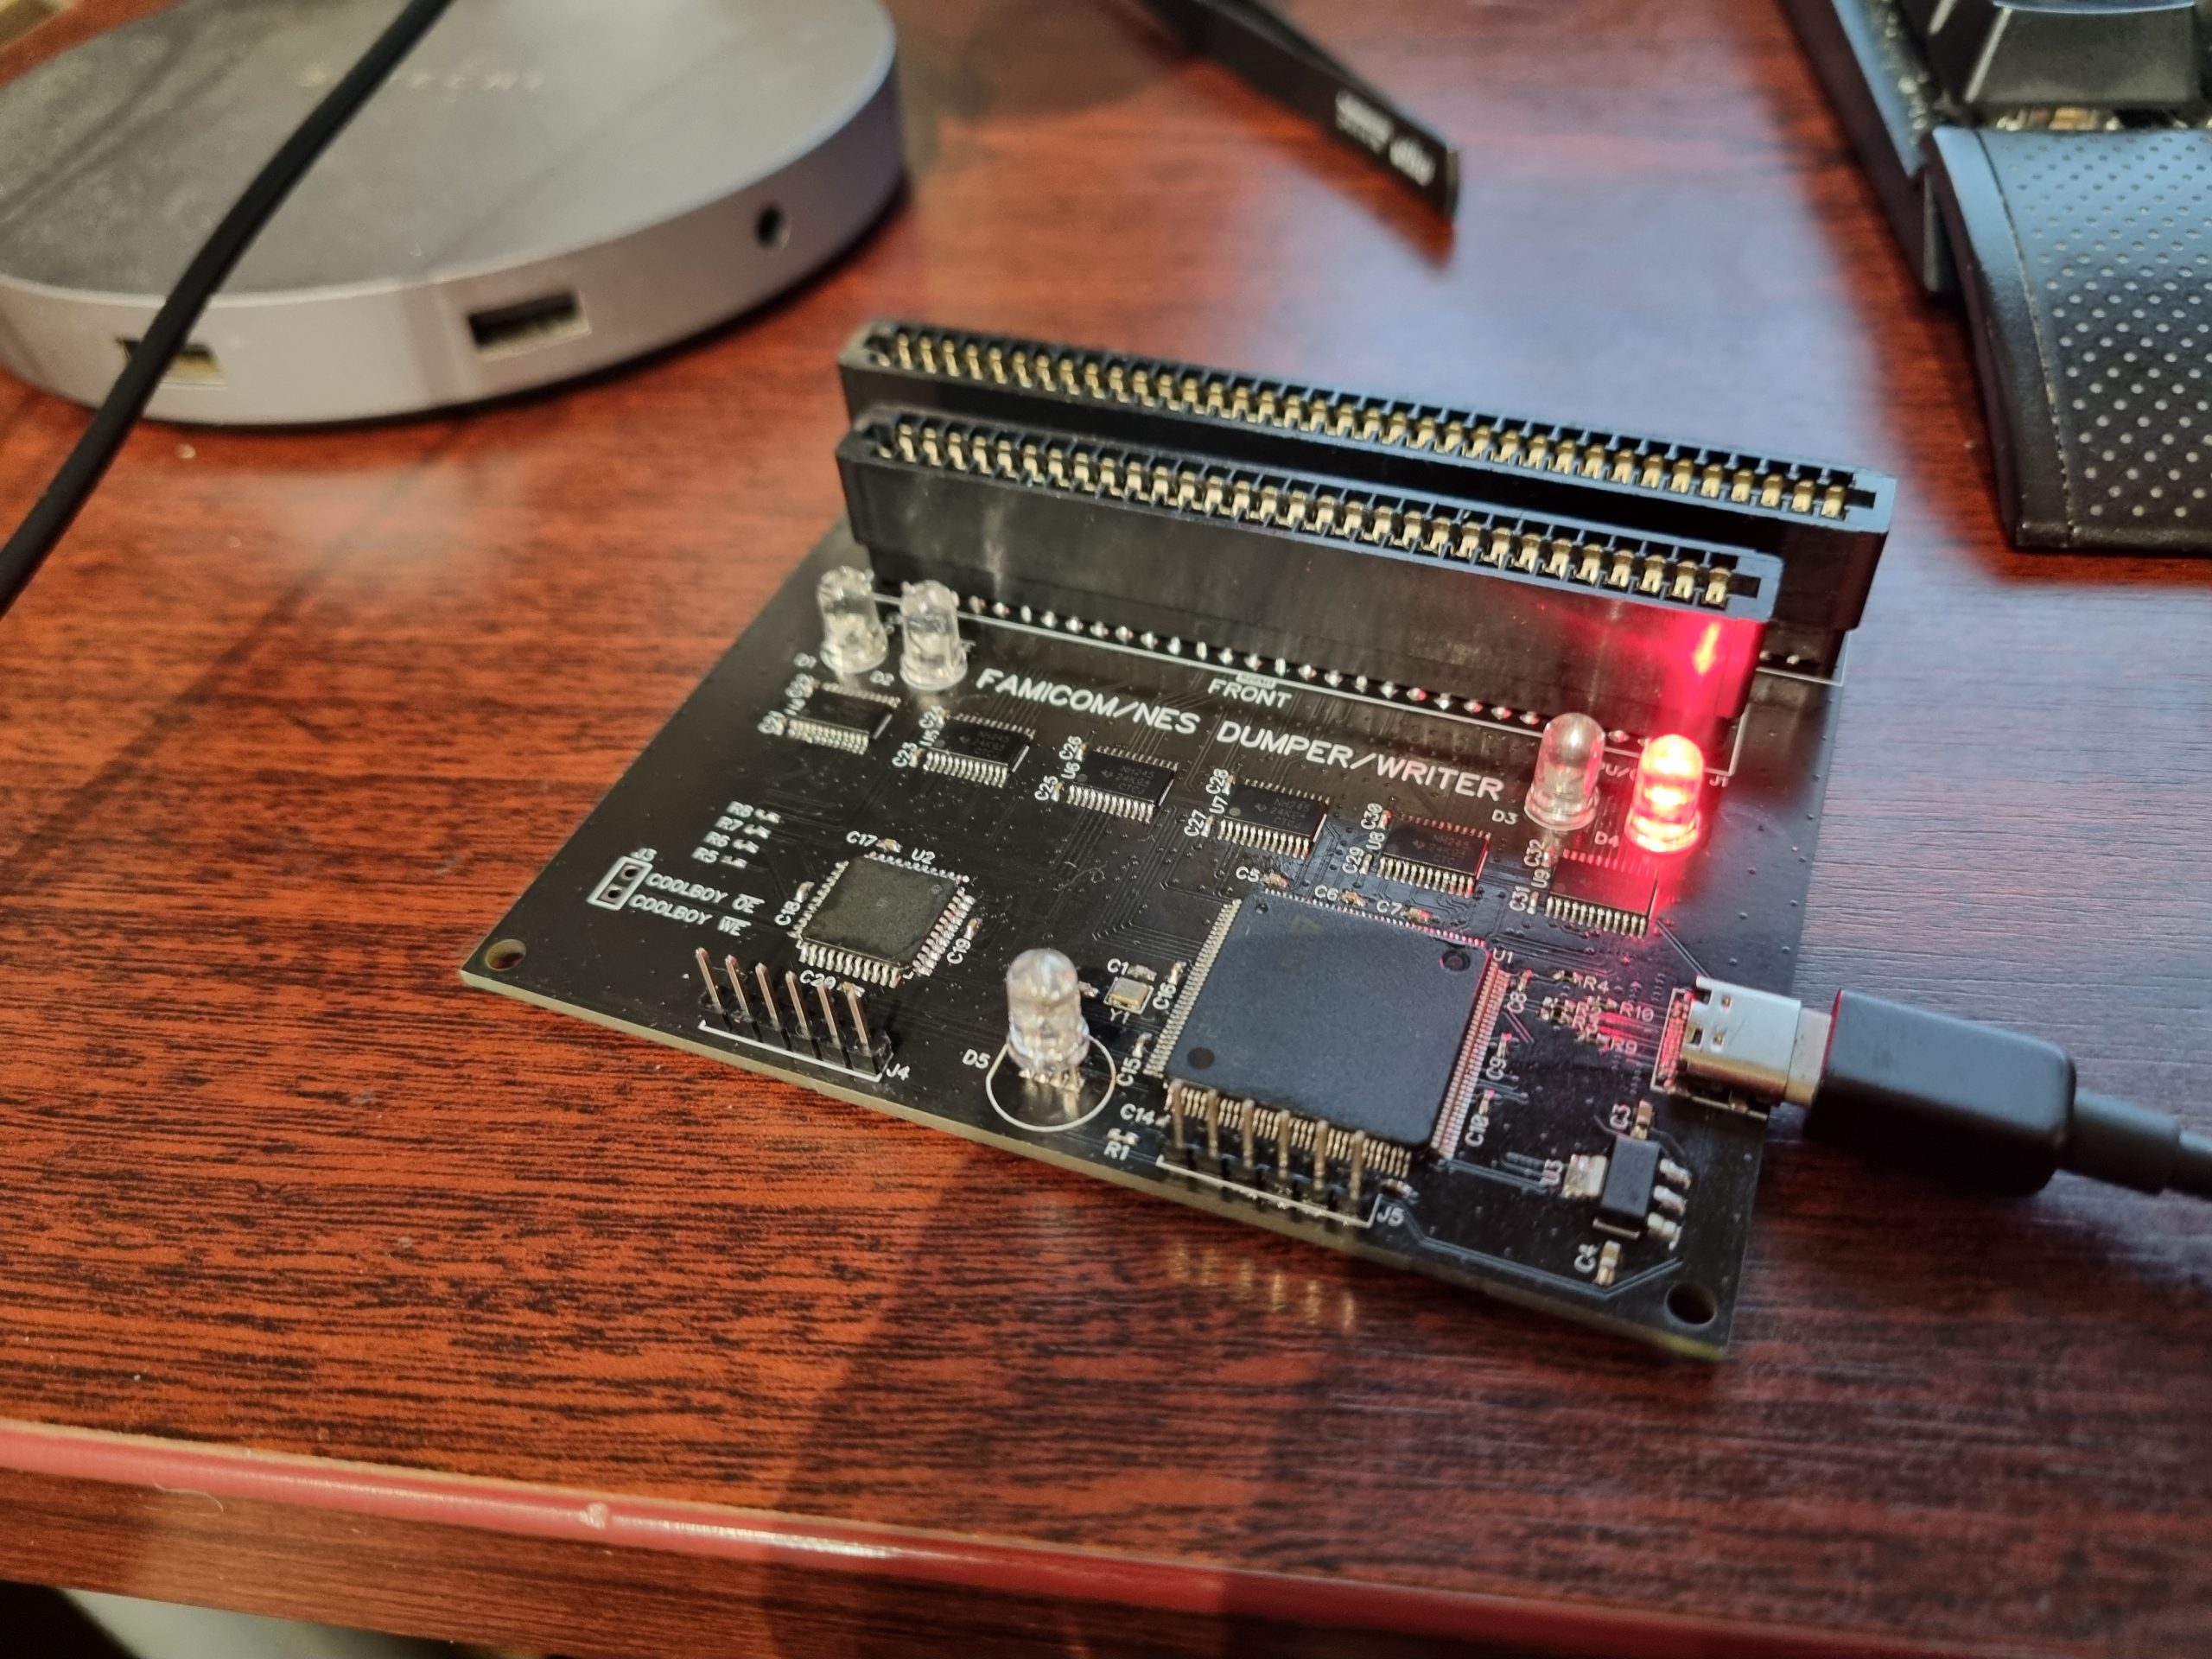
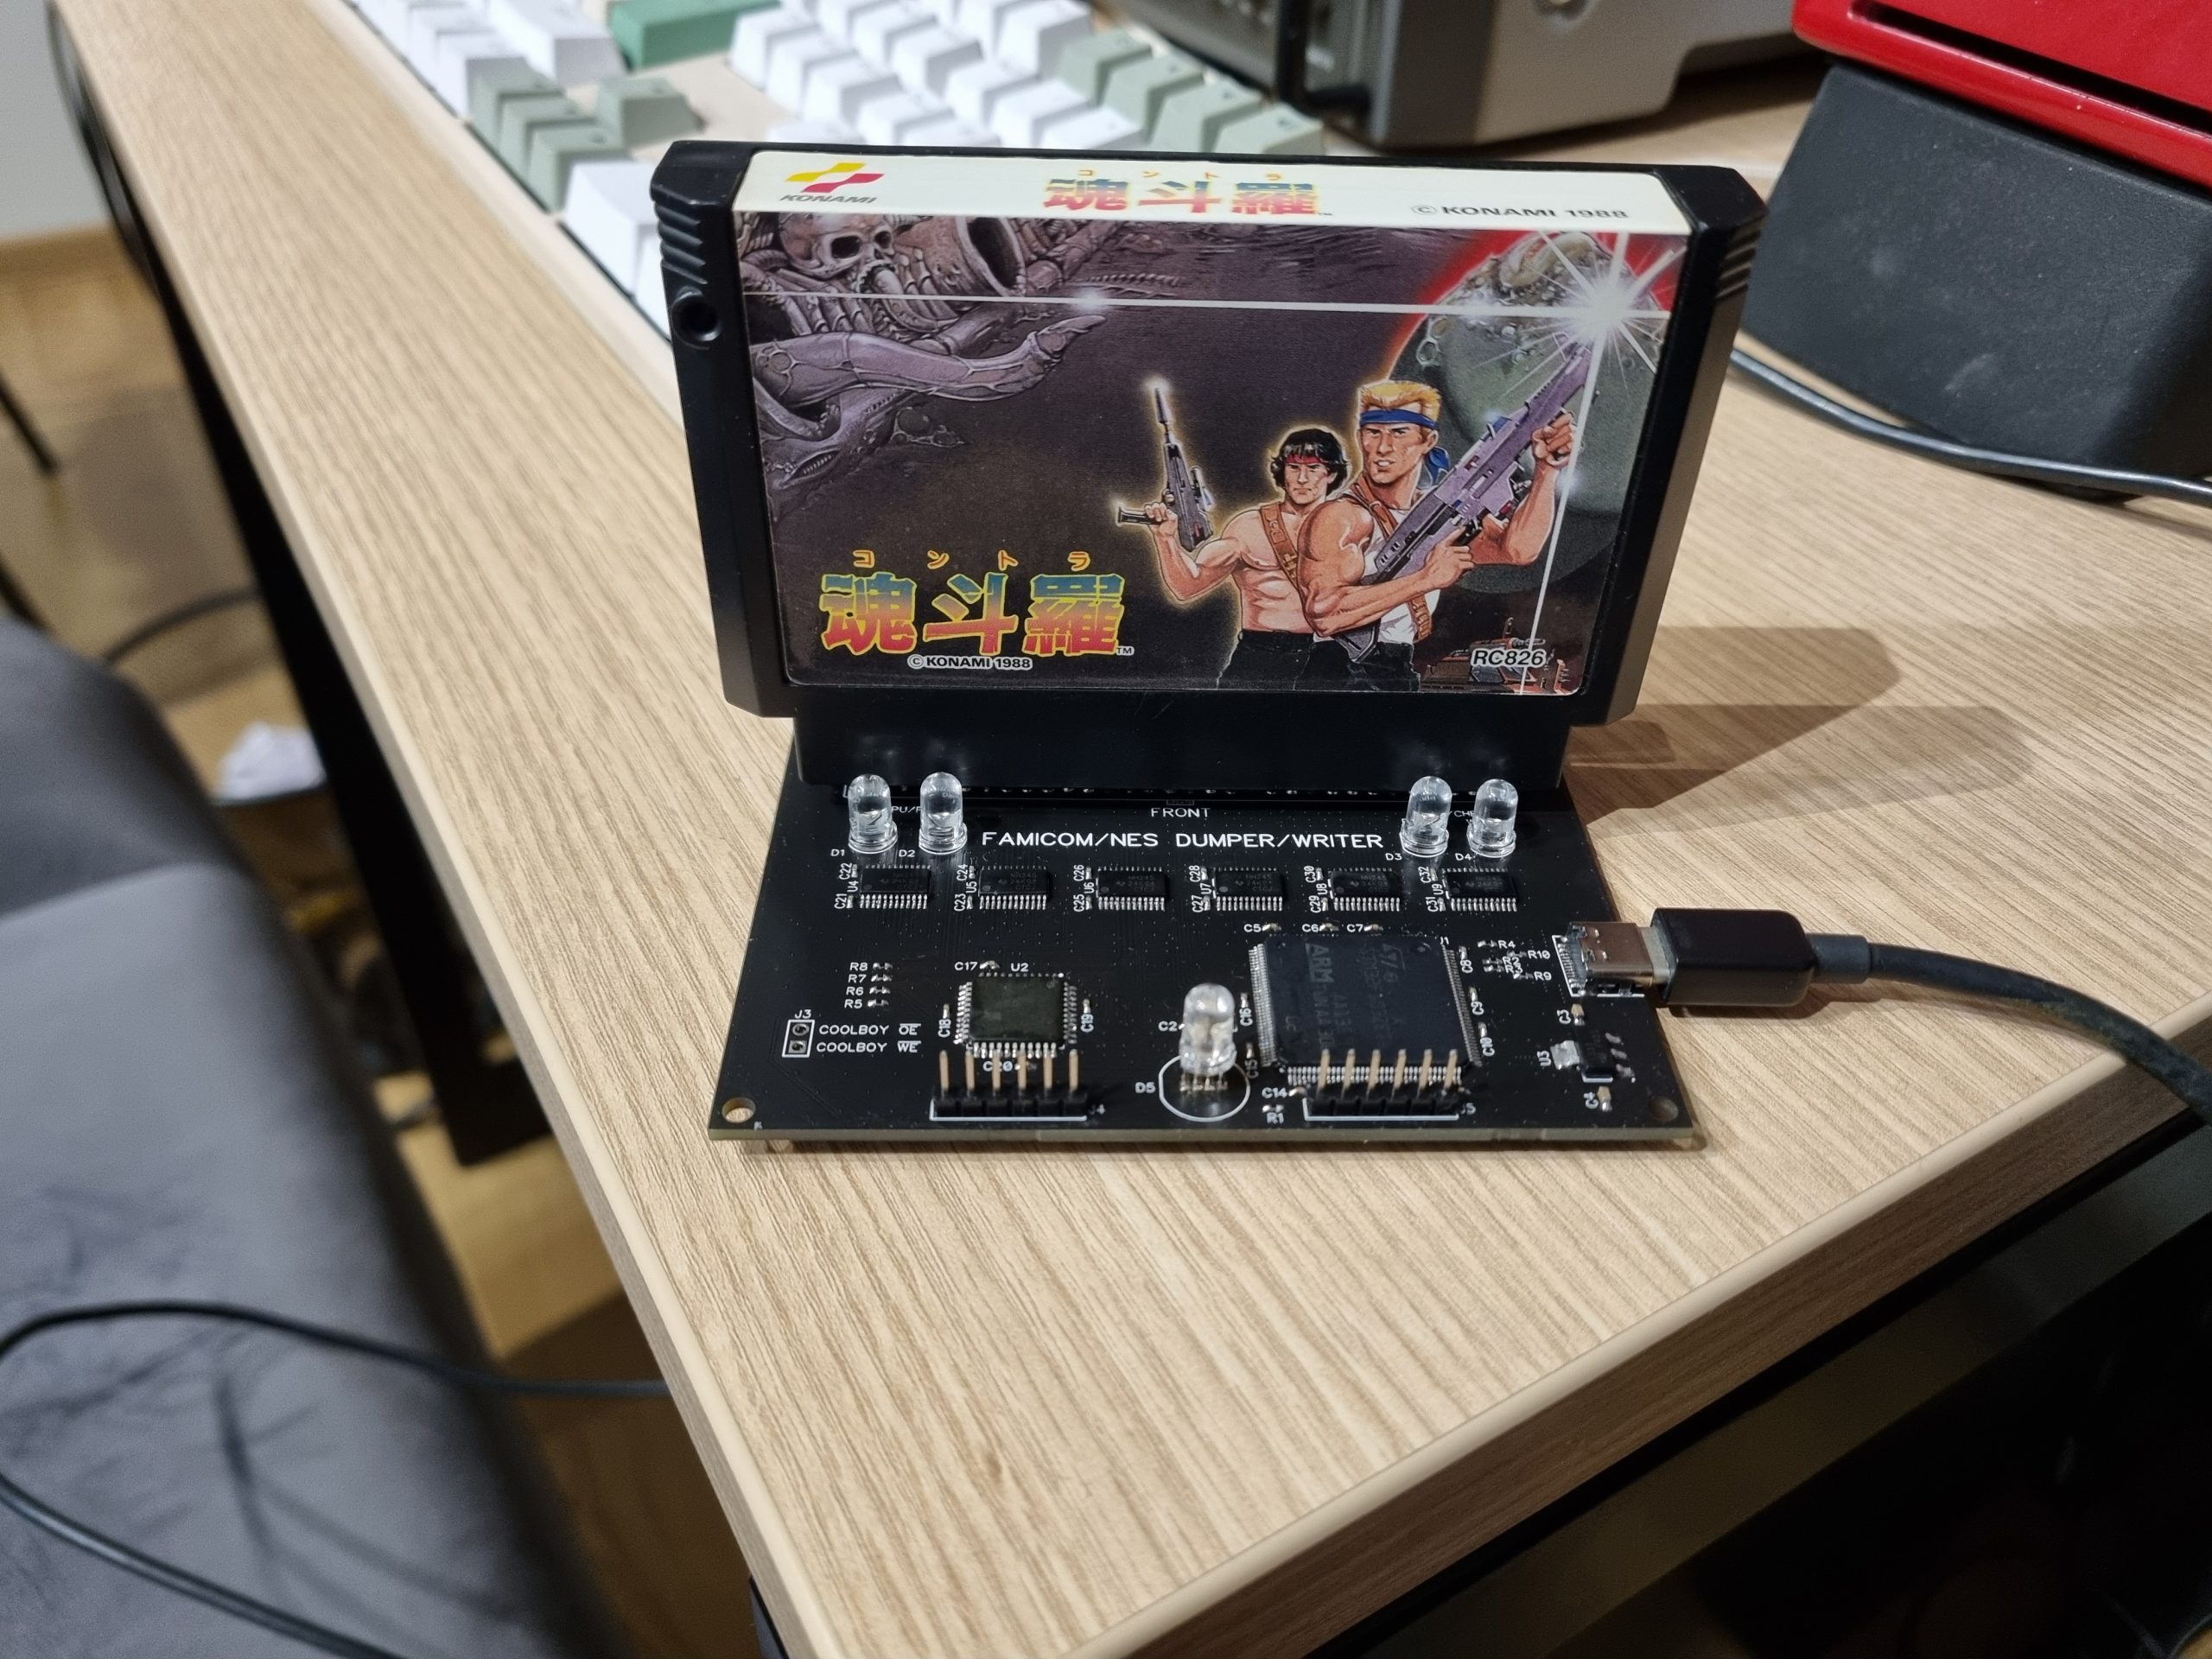
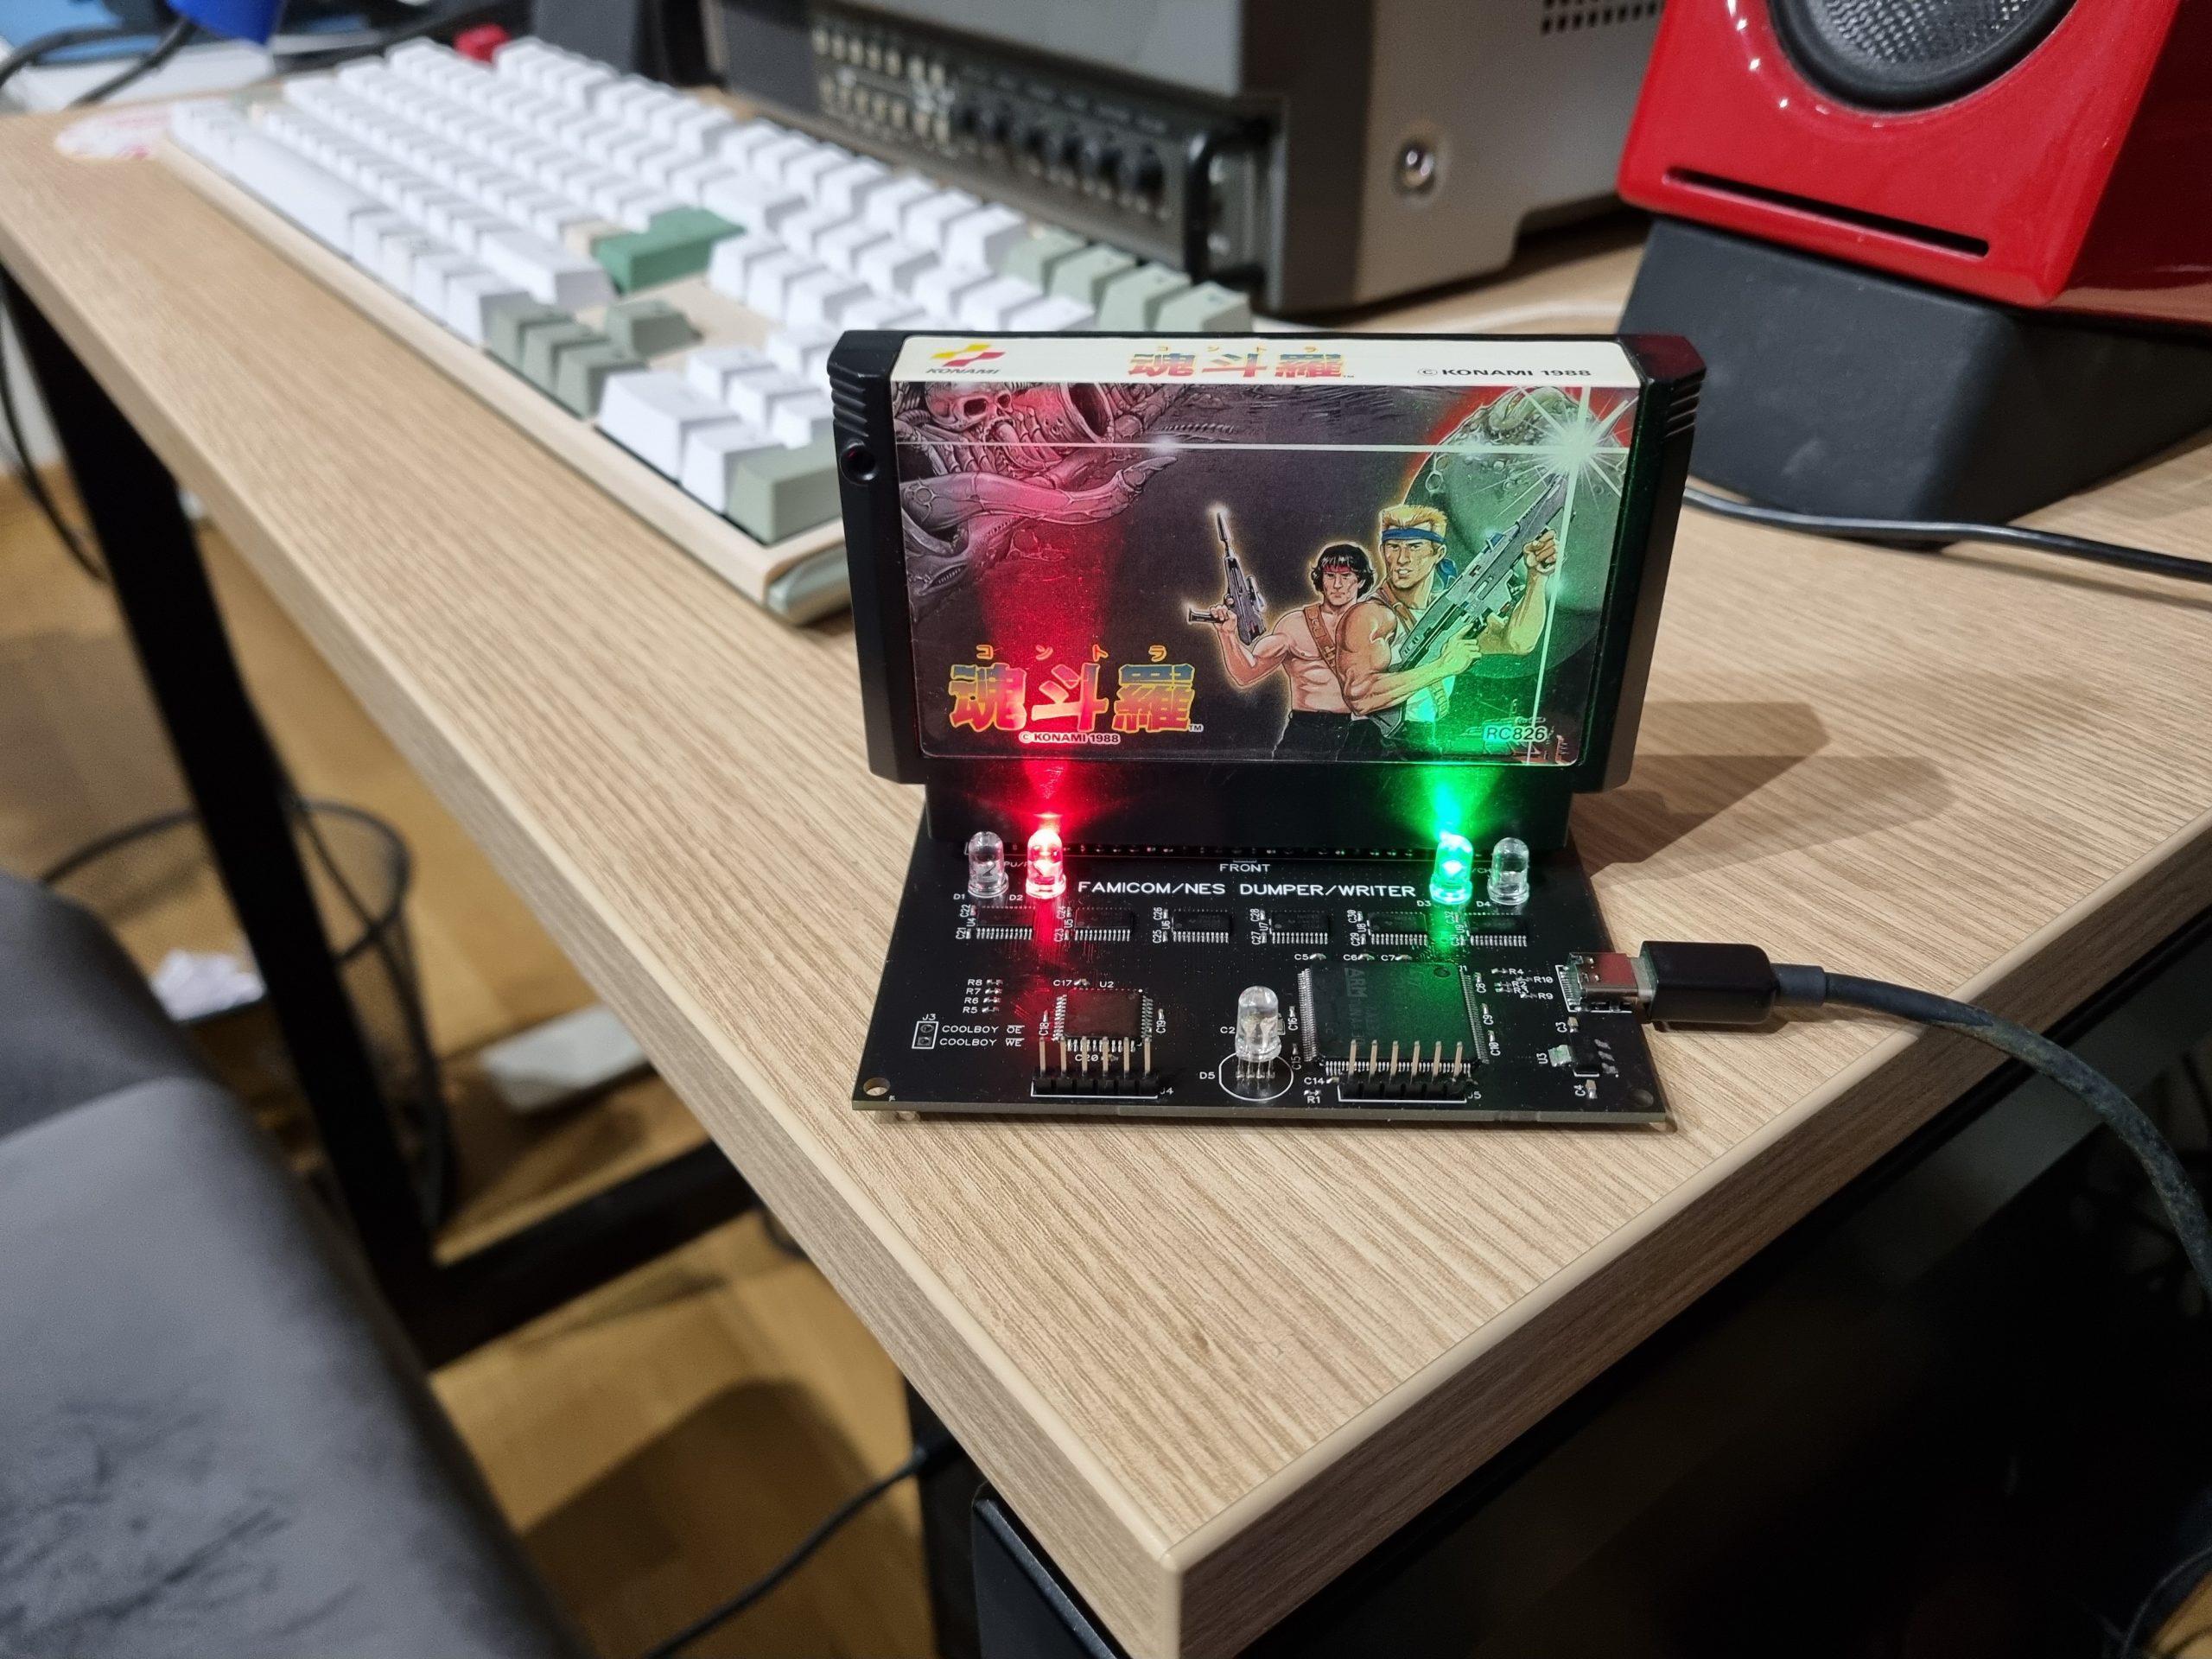
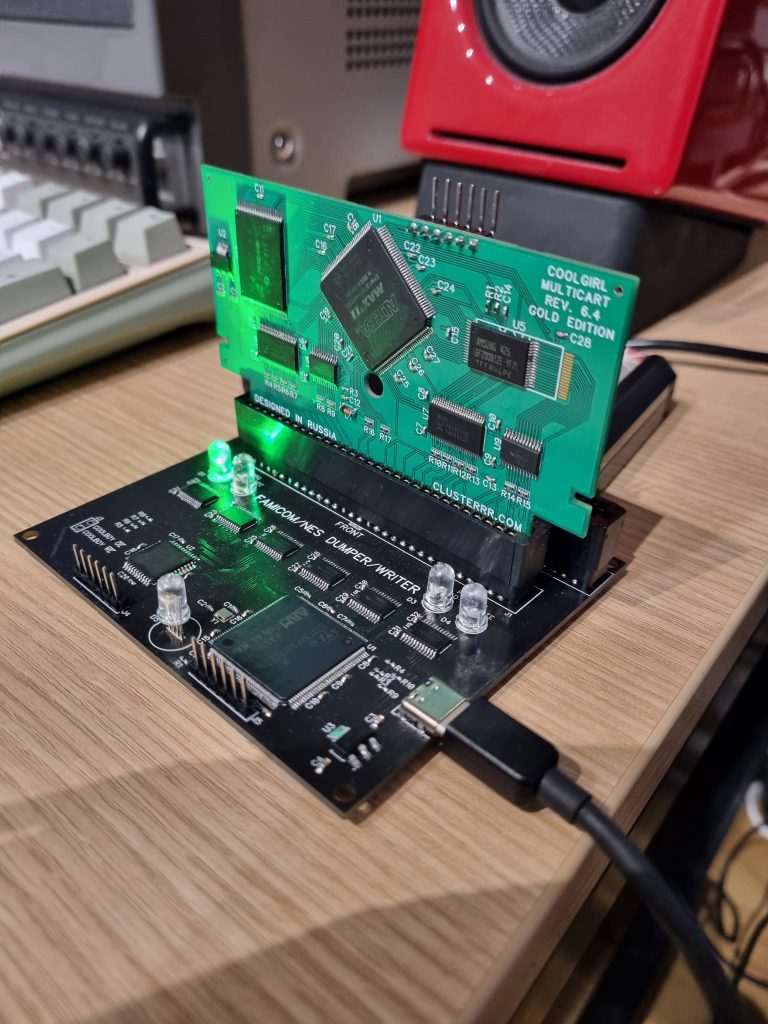
I actually got another PCB from Luigi and soldered another on copy. It went exactly the same as before, the LED exploded upon first powering. Luigi even asked the author (ClusterM) of these PCB why RGB LED could explode, but he had no idea if components are correct. Very weird indeed. I promise to come back to investigate this mystery some time later.
When building a DIY cartridge it is useful to understand what is considered a good quality cartridge. Because you can actually mess the console cartridge slot with some crappy cart. Here is a good article on this from RetroRGB:
https://www.retrorgb.com/determining-the-build-quality-of-a-game-cartridge.html
Of course gold contacts are extremely expensive when ordering PCB for your DIY project, so it is out of the question. I had to do some chamfering manually.