

Found this classic video game console on our local classifieds portal. The seller said he brought it from Sweden. Since the console is almost 40 years old it was very yellow, but the case was intact and not scratched. First controller buttons had lost it’s springiness, so most likely silicon membranes were cracked, but it was still working. Second gamepad (the one with microphone) was working good! The case was never opened before and that is always great thing. It’s funny that the original owner seems to have played this console a lot and did not figure out to replace the cracked membrane of the first gamepad with the second, but I guess that’s not for every kid to figure out. When connected to my Sony Trinitron CRT using RF cable I managed to get some video and audio, just enough to verify that it works. Japanese RF signal is different so I can’t use it on European TV even though it has NTSC.

Here’s a list of modifications I was planning:
- AV mod to add composite output.
- Make controllers detachable.
- Replace fist controller silicon membranes.
- Replace capacitors.
- Restore original color using retrobright method.
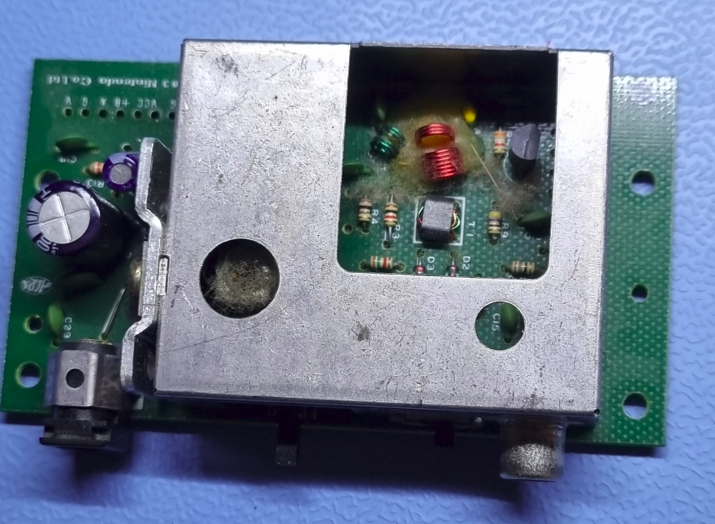
For AV mod I have chosen POWERVAMP V5 PSU/AV replacement board. This is a simple mod that also replaces original PSU. Compared to other mods this does not require cutting chip legs, only some basic soldering. I was lucky to have HVC-CPU-07 model which is most simple to desolder.
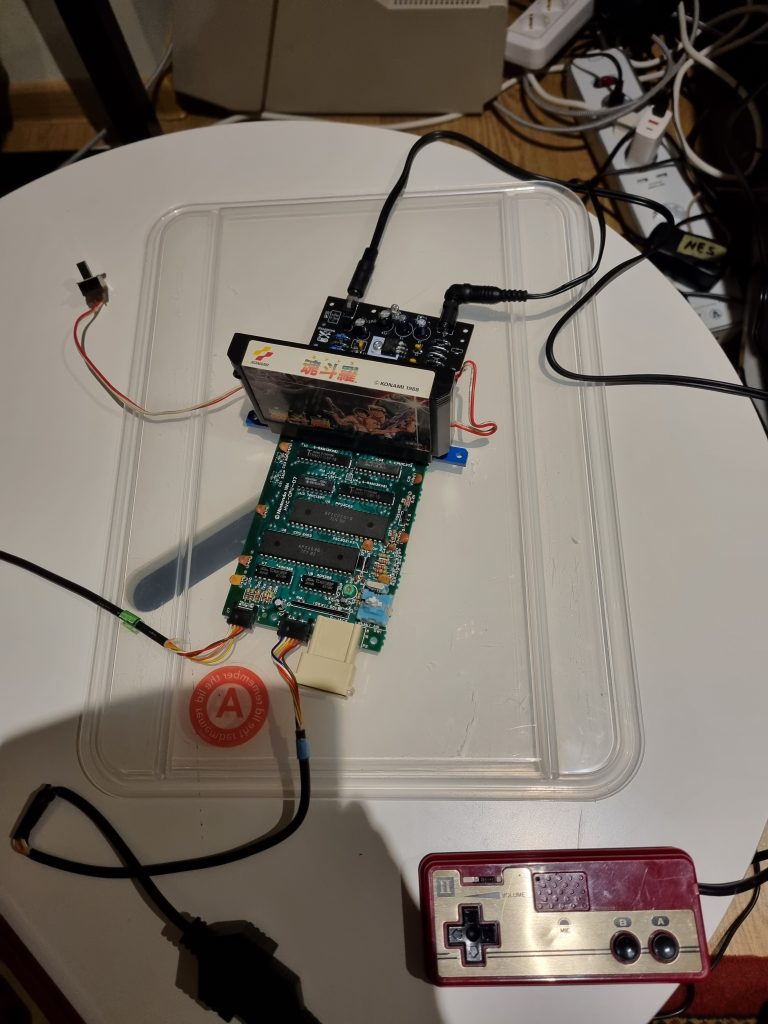
For detachable gamepads I had buy two NES gamepad cable extensions and cut them. This was most time hungry task, I had to solder some 70 cables together. Even the microphone in the second gamepad is still working (even though there are virtually no games for it). The benefit is not only longer cable, but also compatibility with NES gamepads, which are far better than originals.
First gamepad buttons had lost its “click” due to cracked silicone. So initially I simply replaced them with Chinese replacements I got from AliExpress and threw old ones in trash bin. I guess it’s not possible to get any new ones that are of better quality. And it kind of worked, but with Contra I noticed that it became almost impossible to shoot diagonally. Then I remembered I had red somewhere that you replace original silicone only as a last resort, because replicas do not perform very well. So I had to go through my trash bin so salvage originals… I glued cracked silicon with special super glue that has elasticity to it. And you know what, buttons work again. Maybe not as good as with second gamepad, but still fully functional.
Total amount of electrolyte capacitors on Famicom is some 7 units and most of them are on PSU board, which I already replaced. So I replaced 3 remaining capacitors with new ones (one of which is on second gamepad with microphone).
To get the original color back and remove yellowness I was choosing between repainting and bleaching with peroxide. One problem with painting is choosing a white color when you don’t know how it actually looked. Another problem is stickers that needs removal and protecting parts that will not be painted.
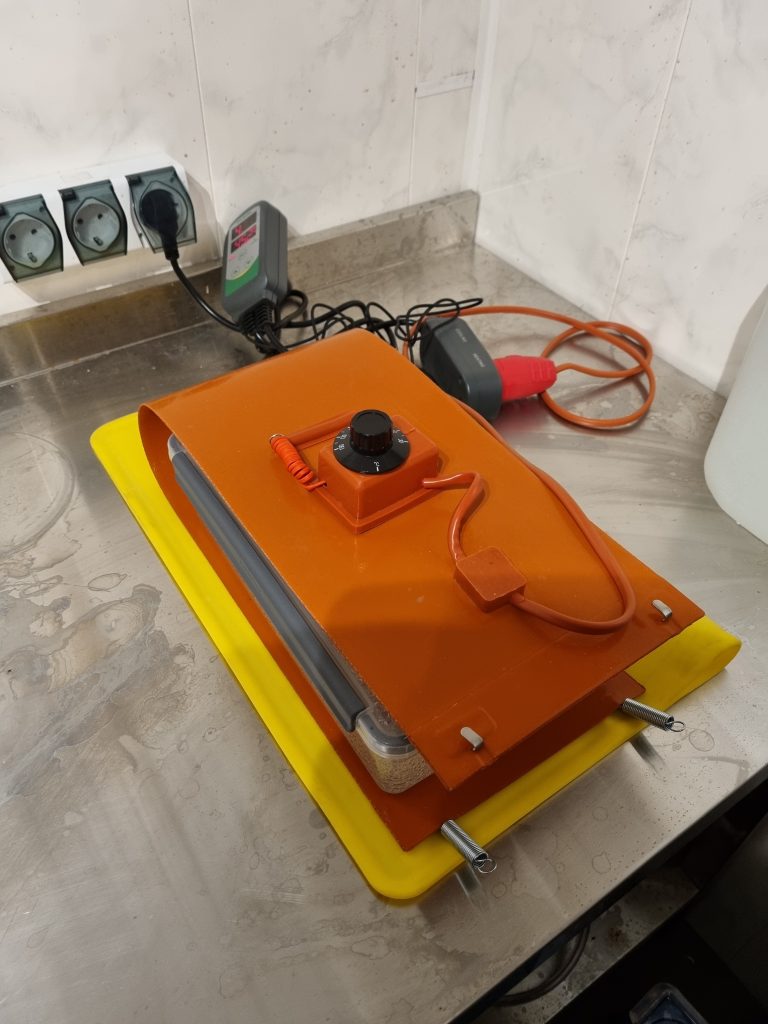
After looking at bunch of Youtube videos I decided to do retrobrighting. The main things for retrobight to work is hydrogen peroxide and temperature. I do not use UV light and sure if it yields any better results than just keeping temperature at 40-50C for three days. I mix the peroxide with distilled water to get 12% mixture. You can buy 35% concentrated hydrogen peroxide and dilute it with water. The actual ratio is following: 5L 35% + 12L H2O = 17L 12.5%. Keep in mind that hydrogen peroxide produces gases and it even expanded the plastic container and it became round. To maintain the stable temperature you need to have some type of heater. The one I use is silicone belt bought from AliExpress for heating barrels. I just wrap it around plastic case.
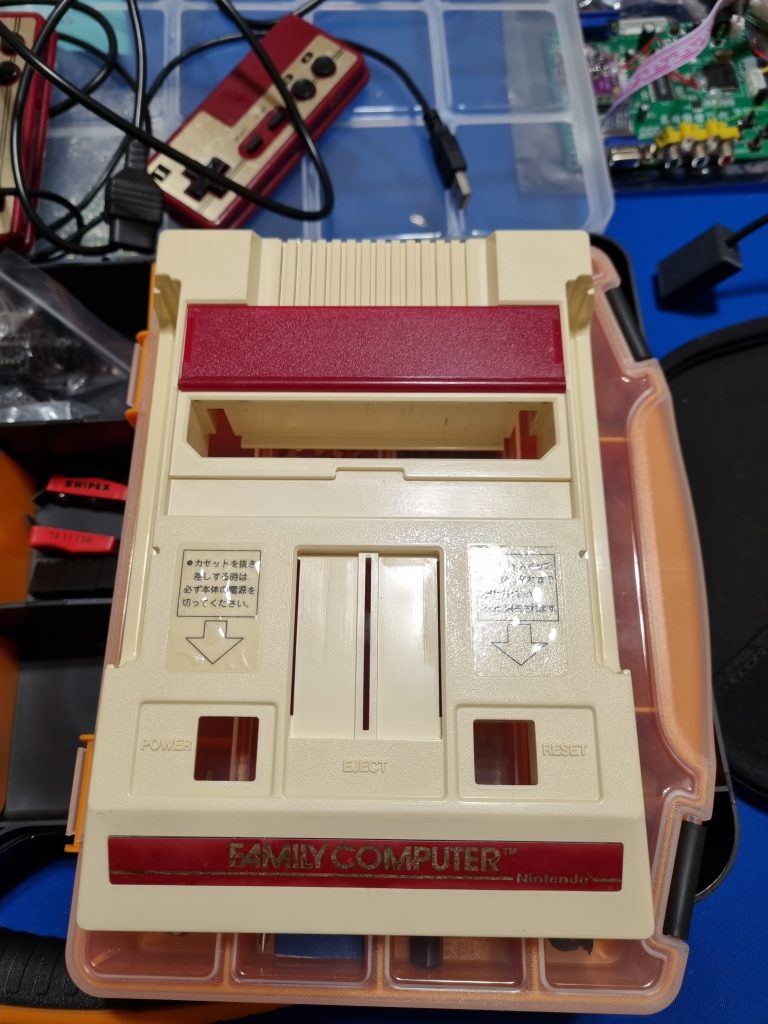
The results did impress me quite a bit. From yellow color I got more of a cream color. Hard to say how it looked originally and I guess it was still a bit different. But I’m very satisfied with the experiment. And you don’t need to use UV lights.
I’m quite skeptical regarding video quality of composite signal and in some cases it looks quite horrible, even using it on CRTs. For example on my shadow mask Samsung CRT it looks bad, we couldn’t even properly play Contra on it. But then I tried on my 14″ Sony Trinitron and surprisingly it looked very impressive.
Even tough in the nineties we only had access to famiclones and this console does not any some nostalgic value for me, it is still great to have an artifact of gaming history in your hands. And it’s also in perfect working condition.