

There are three components of a retro PC that are typically prone to failure and often does not survive. First is a hard drive, which even working can be very noisy, but we can replace it easily with CF or SD card interface. Another is floppy drive which can be replaced with various floppy emulators. And the third one is a PSU (AT or early ATX), which technically can be replaced with modern ATX PSU and passive AT adapter, but there is catch. Modern PSUs does not have some rails like -5V, but even with +5V it does not deliver enough power as nowadays you don’t use +5V so much. So in theory you could use some modern PSU as a replacement, but it’s an overkill and you also have a risk of overcurrent. Finding new old stock AT PSU is hard and usually their quality is poor (never been very good). Finding early ATX PSU is more viable solution, but it’s a question of time when they will be gone. So to the help comes ATX2AT smart converter.
Documenation: https://x86.fr/atx2at-smart-converter/
Github: https://github.com/x86fr/ATX2AT-Smart-Converter
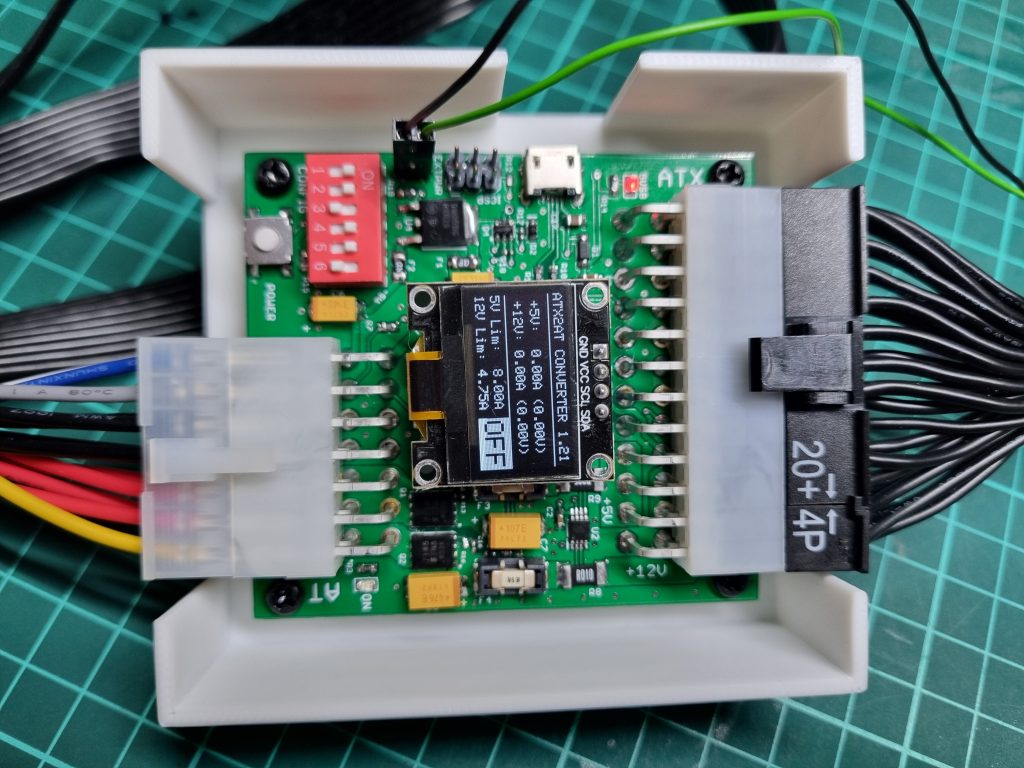
Building the converter
ATX2AT features a small PCB that has all kinds of components on it, both SMT and THT. The smallest component is 0402 and the first time I tried to solder those it was very bad experience. By then I had a LCD microscope, which is essential for work on these small components. The problem was that some of those resistors just did not stick. I complained to one of my colleagues that worked professionally on soldering SMT electronics in the past. So he came to my place to teach me soldering. When we got the same components “the teacher” was struggling himself and decided that components itself might have been expired and suggested to buy new quality ones. That I did, but I also was started thinking more and more that my Hakko FX-888D impairs me. So I bought myself a JBC CD-2BQF soldering station and man was I happy camper from that day. Almost the same time I also upgrade my microscope to a proper stereo microscope, which proved to be an essential upgrade too. So with new tools soldering became a breeze. But due to the density and some specific components this project was most of the difficult to build. Even though project is open source, but I did not find any feedback from someone that build the device himself (or herself). Now I kind of get it why.
I worked on three boards at once and used only soldering iron. Started from processor, then 0402 resistors and capacitors and so on. There are some components that are difficult to solder using iron, for example Q1 and Q2 mosfets. I even damaged one of Q2 this way. I suggest using hot air and soldering paste for these.
There are some mistakes in BOM that were never fixed, not sure why. Author was notified of them.
Programming
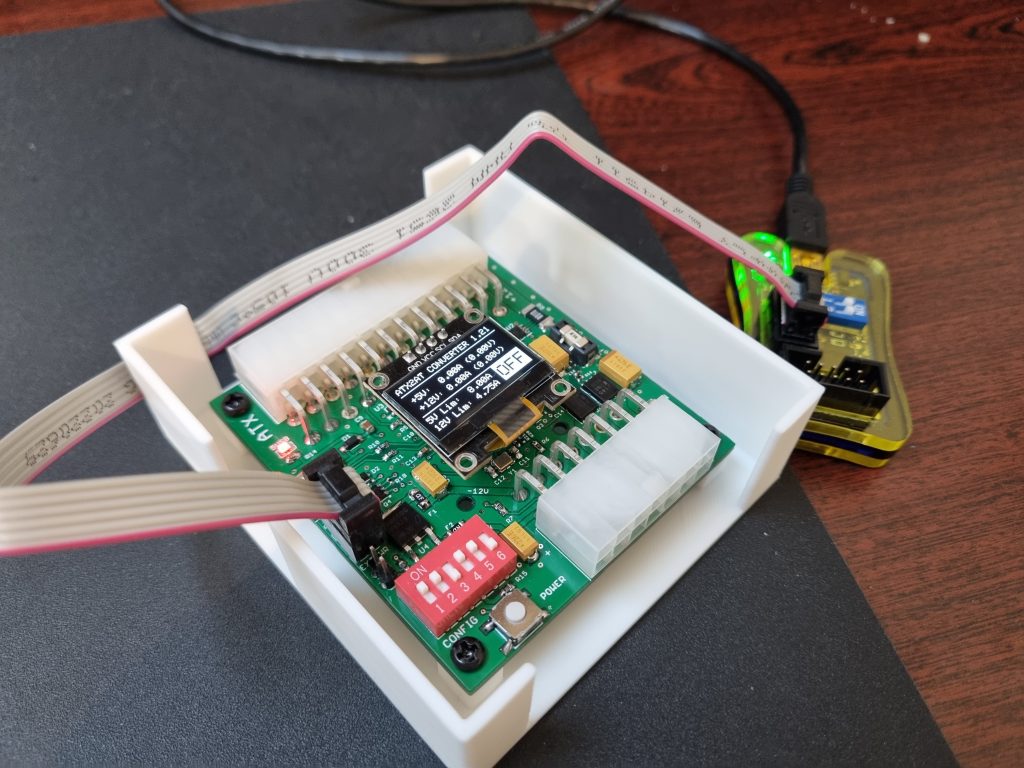
For programming you can use “DIAMEX AVR ISP ISP programmer for Atmel AVR” and avrdude command line tool. The command line for this specific programmer is “avrdude -c stk500 -p atmega32u4 -P \.\COM6 -b 19200 -U flash:w:firmware.hex:i”. Change the COM port number and firmware file name to yours.
Cable
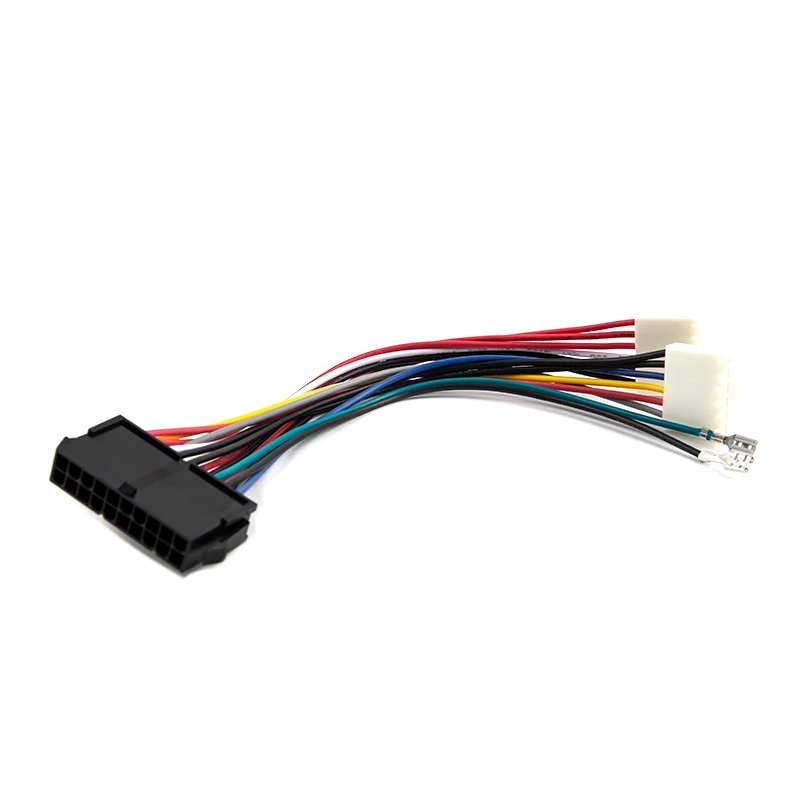
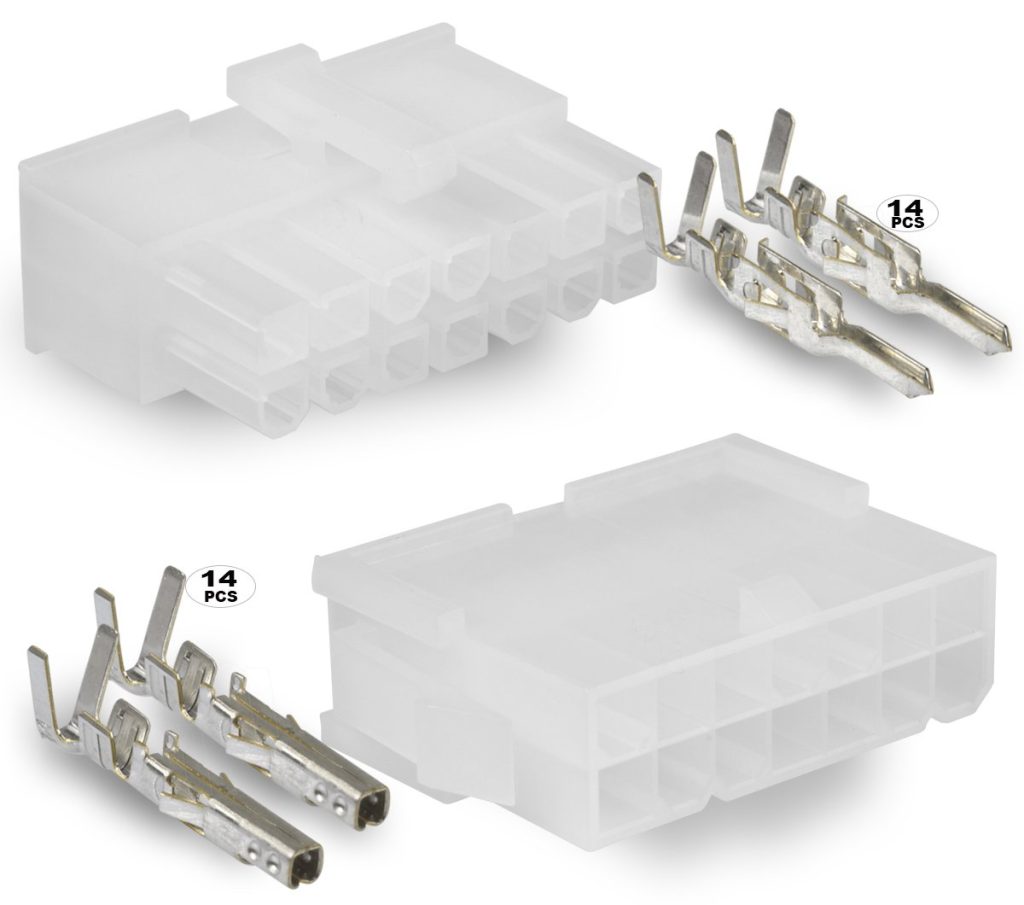
You will have to make AT cable yourself. For that you need a 20Pin ATX To AT Converter Power Cable Cord and 14 pin Molex connector. And of course some Molex crimping pliers.
External power button
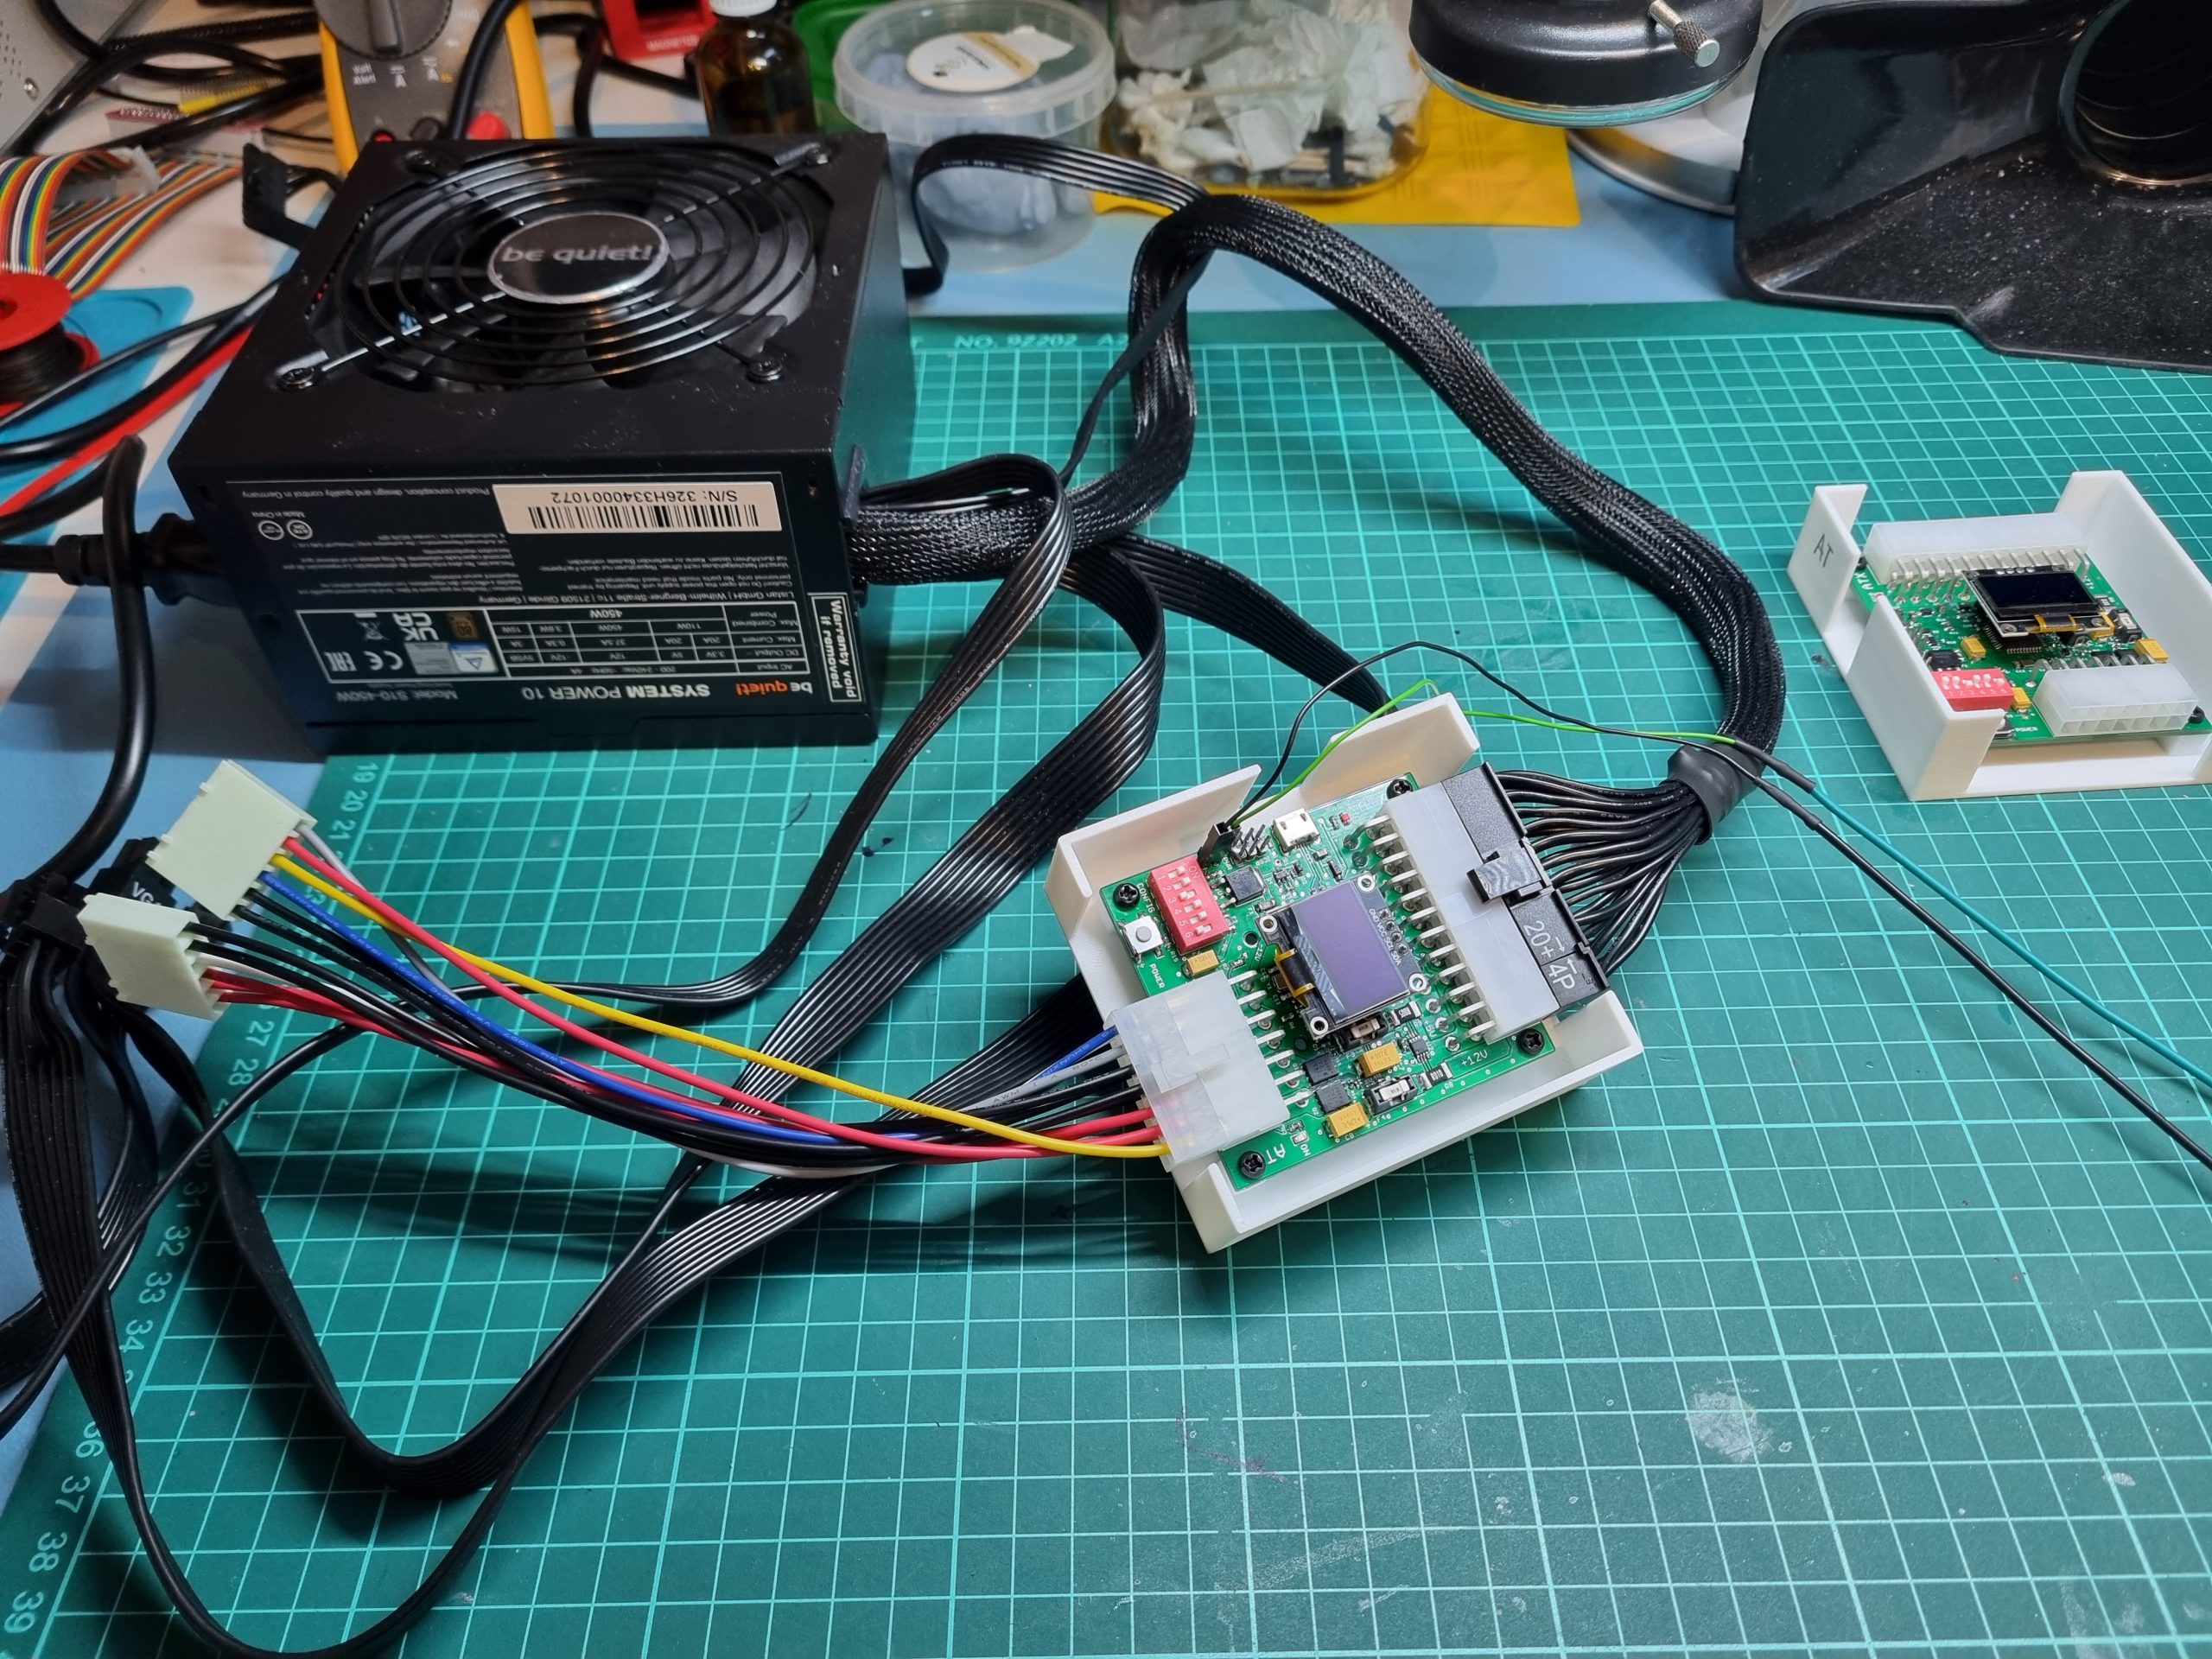
To the ext_pwr pins you can connect external power button. By default it is momentary switch and it is suitable when using modern ATX PC case. If you want SPST type switch (like in old AT cases), you will need to either use included Windows tool and connect device using USB. Or alter a variable in the source code, build new firmware and flash it with programmer. In my case I was unable to use the tool due to some driver issue or maybe some soldering problem with USB port that I did not figured out yet.
Enclosure
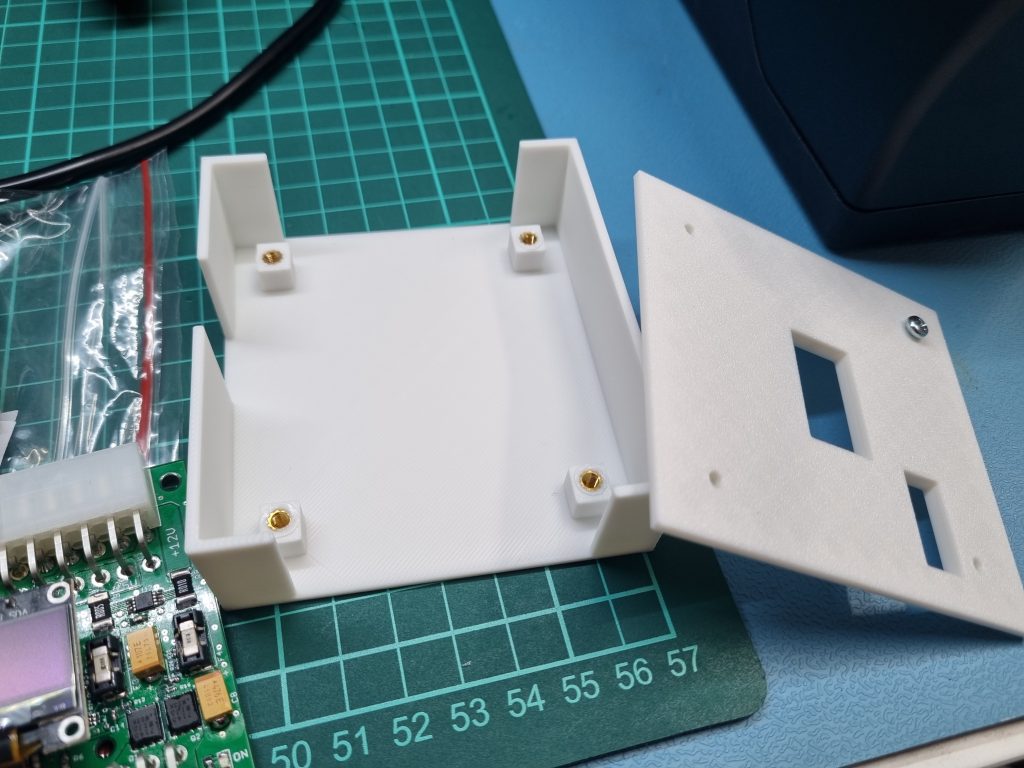
I designed a basic enclosure myself with Fusion 360. It uses M3 heat inserts. Here are STL files if anyone interested:
Conclusion
As a soldering projecting this could qualify for soldering final exam as it has everything on it. Definitely not a beginners project. Having good quality tools can make a difference between impossible and possible.