
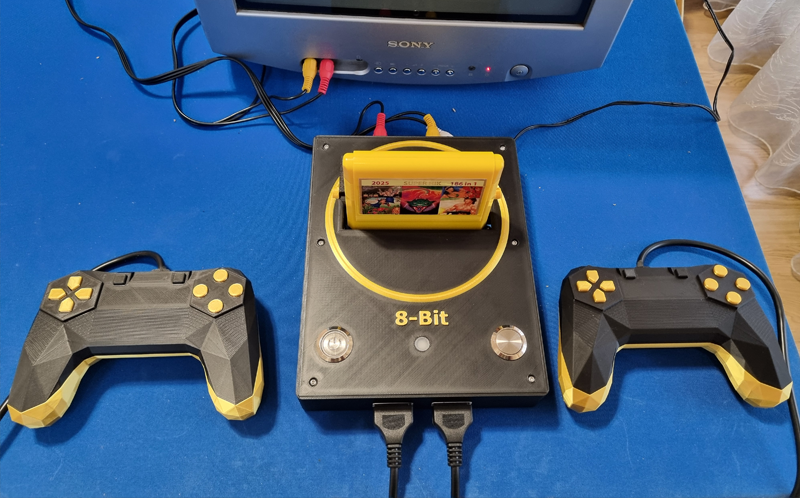
Since the 8-bit Famiclone is my my childhoods bellowed console, I definitely wanted to construct one myself. I have one original Famiclone from the early 90s that has chips instead of black epoxy blob (which become common in the mid 90s). These cheap Famiclones are prone to failure and usually has poor signal quality. So I had incentive to build a quality console.
There are very few open source project on Github for building a Famicom or Famiclone. I’m using project by mleonid2000. Most of the parts are new, from the original you need: CPU, PPU, cartridge socket, gamepad ports and preferably crystal. What is also needed is RAM, that has different form factor from NES or Famicom, which is a bummer because I expected that I could reuse ones from the original consoles. Of course I noticed about RAM only when adding IC to sockets… So another month or two waiting for the legacy chips to arrive from China…
The PCB is made smartly to be able to switch between NTSC and PAL. Of course you have to replace CPU and PPU for that and also switch crystal. Both crystals have to be installed and their are switched with jumpers. This is really nice feature, since for actual gaming I would not use PAL, but as oddity and curiosity thing I wanted to also have PAL console.
Two pairs of NTSC processors I salvaged from non working Famicom consoles from Japan, both proved to be working good. Ten of PAL processors bought on Ali and nine of them are working good, which is very impressive. Since I made three copies of the console, I populated one with NTSC and got myself Famicom, and other two with PAL and got two Famiclones.
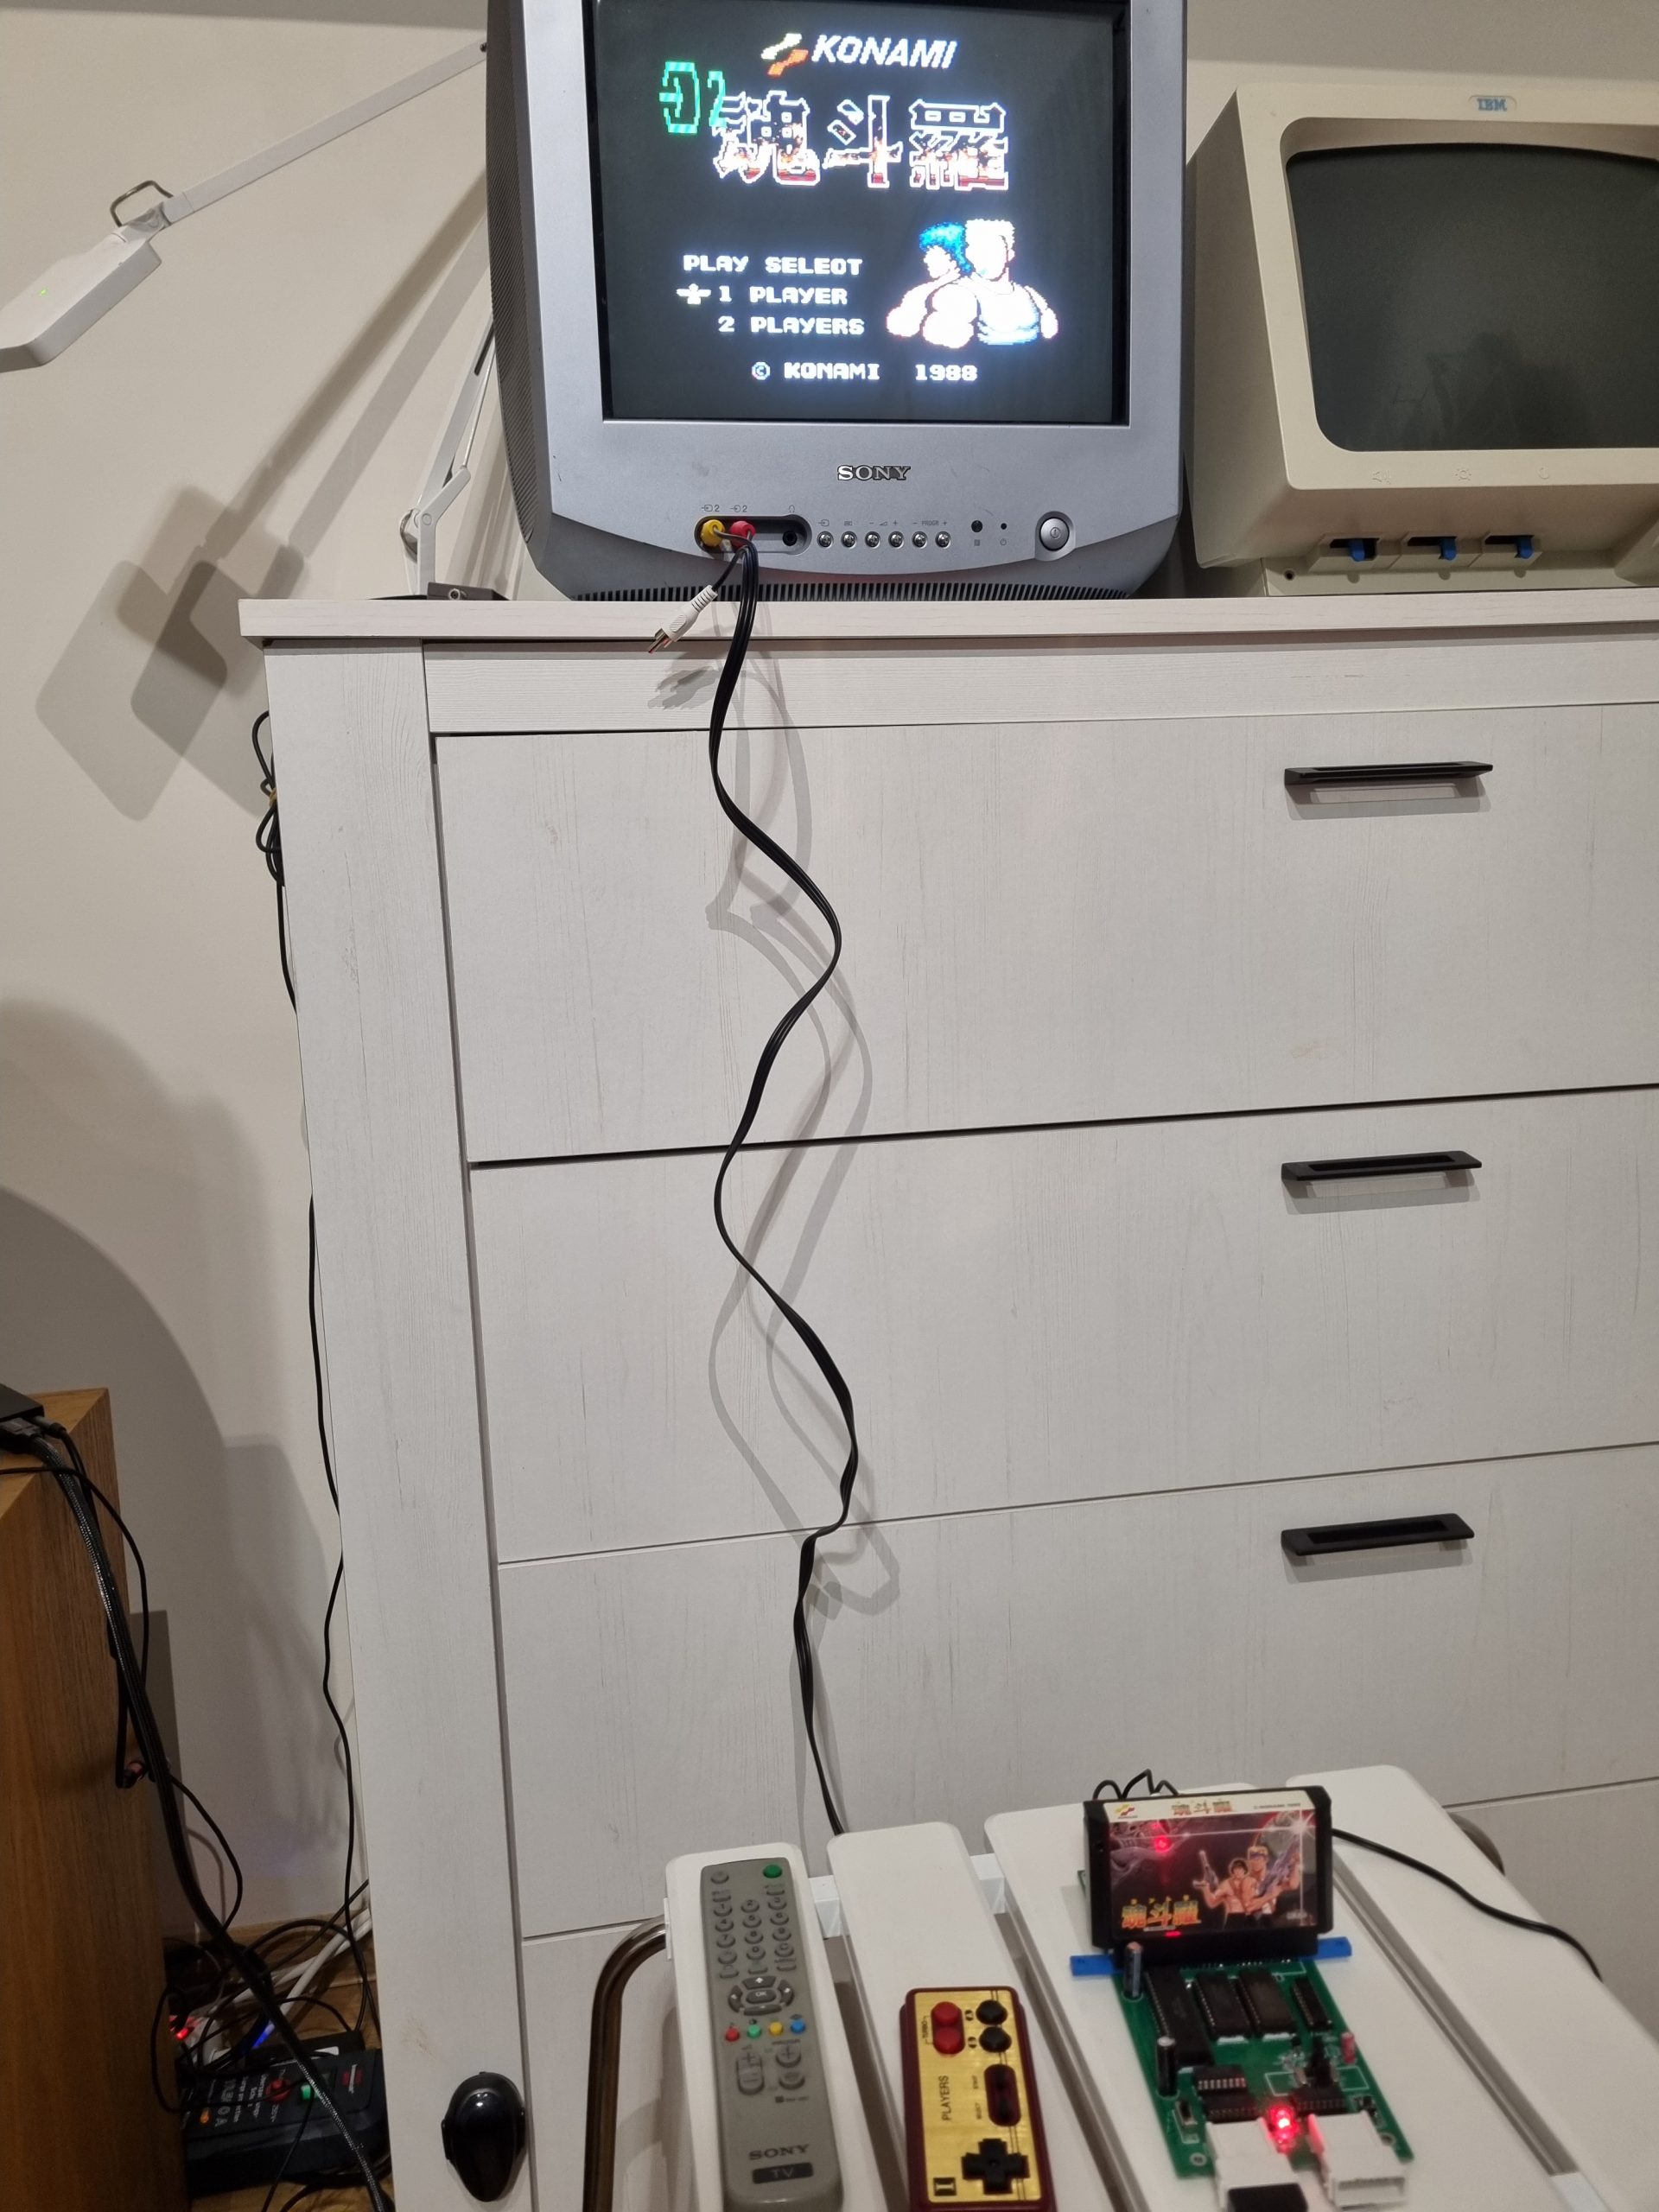
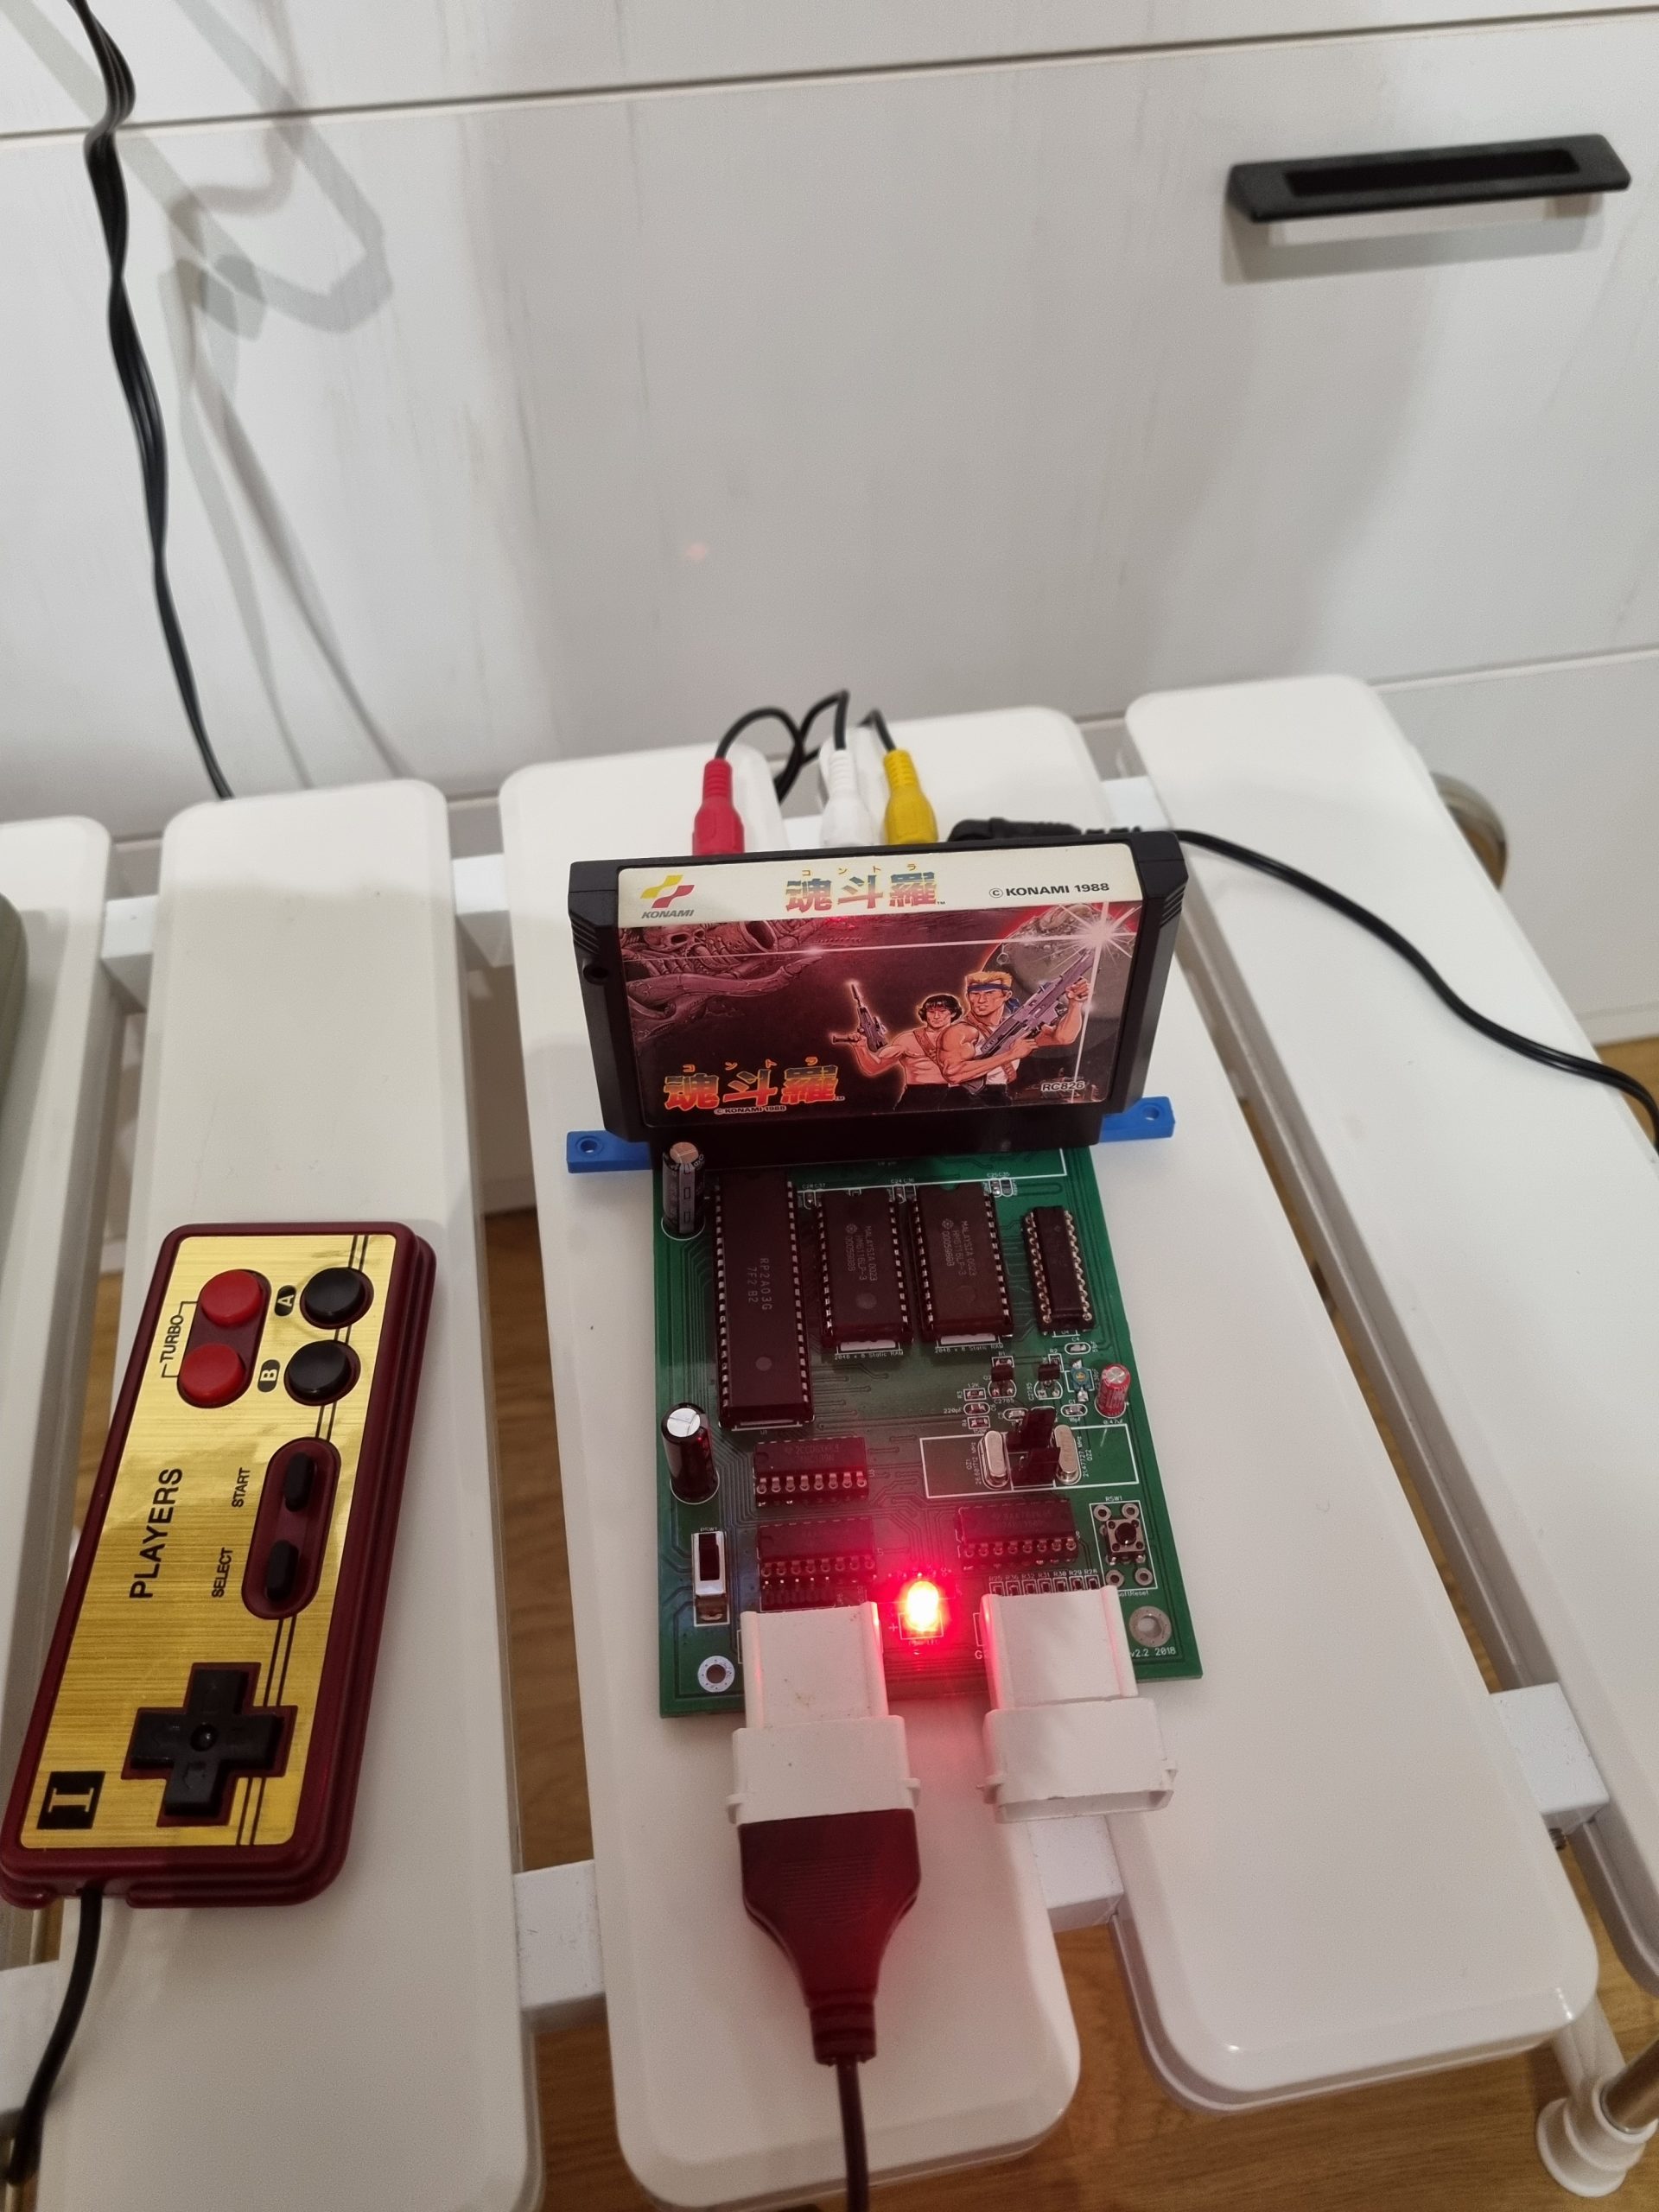
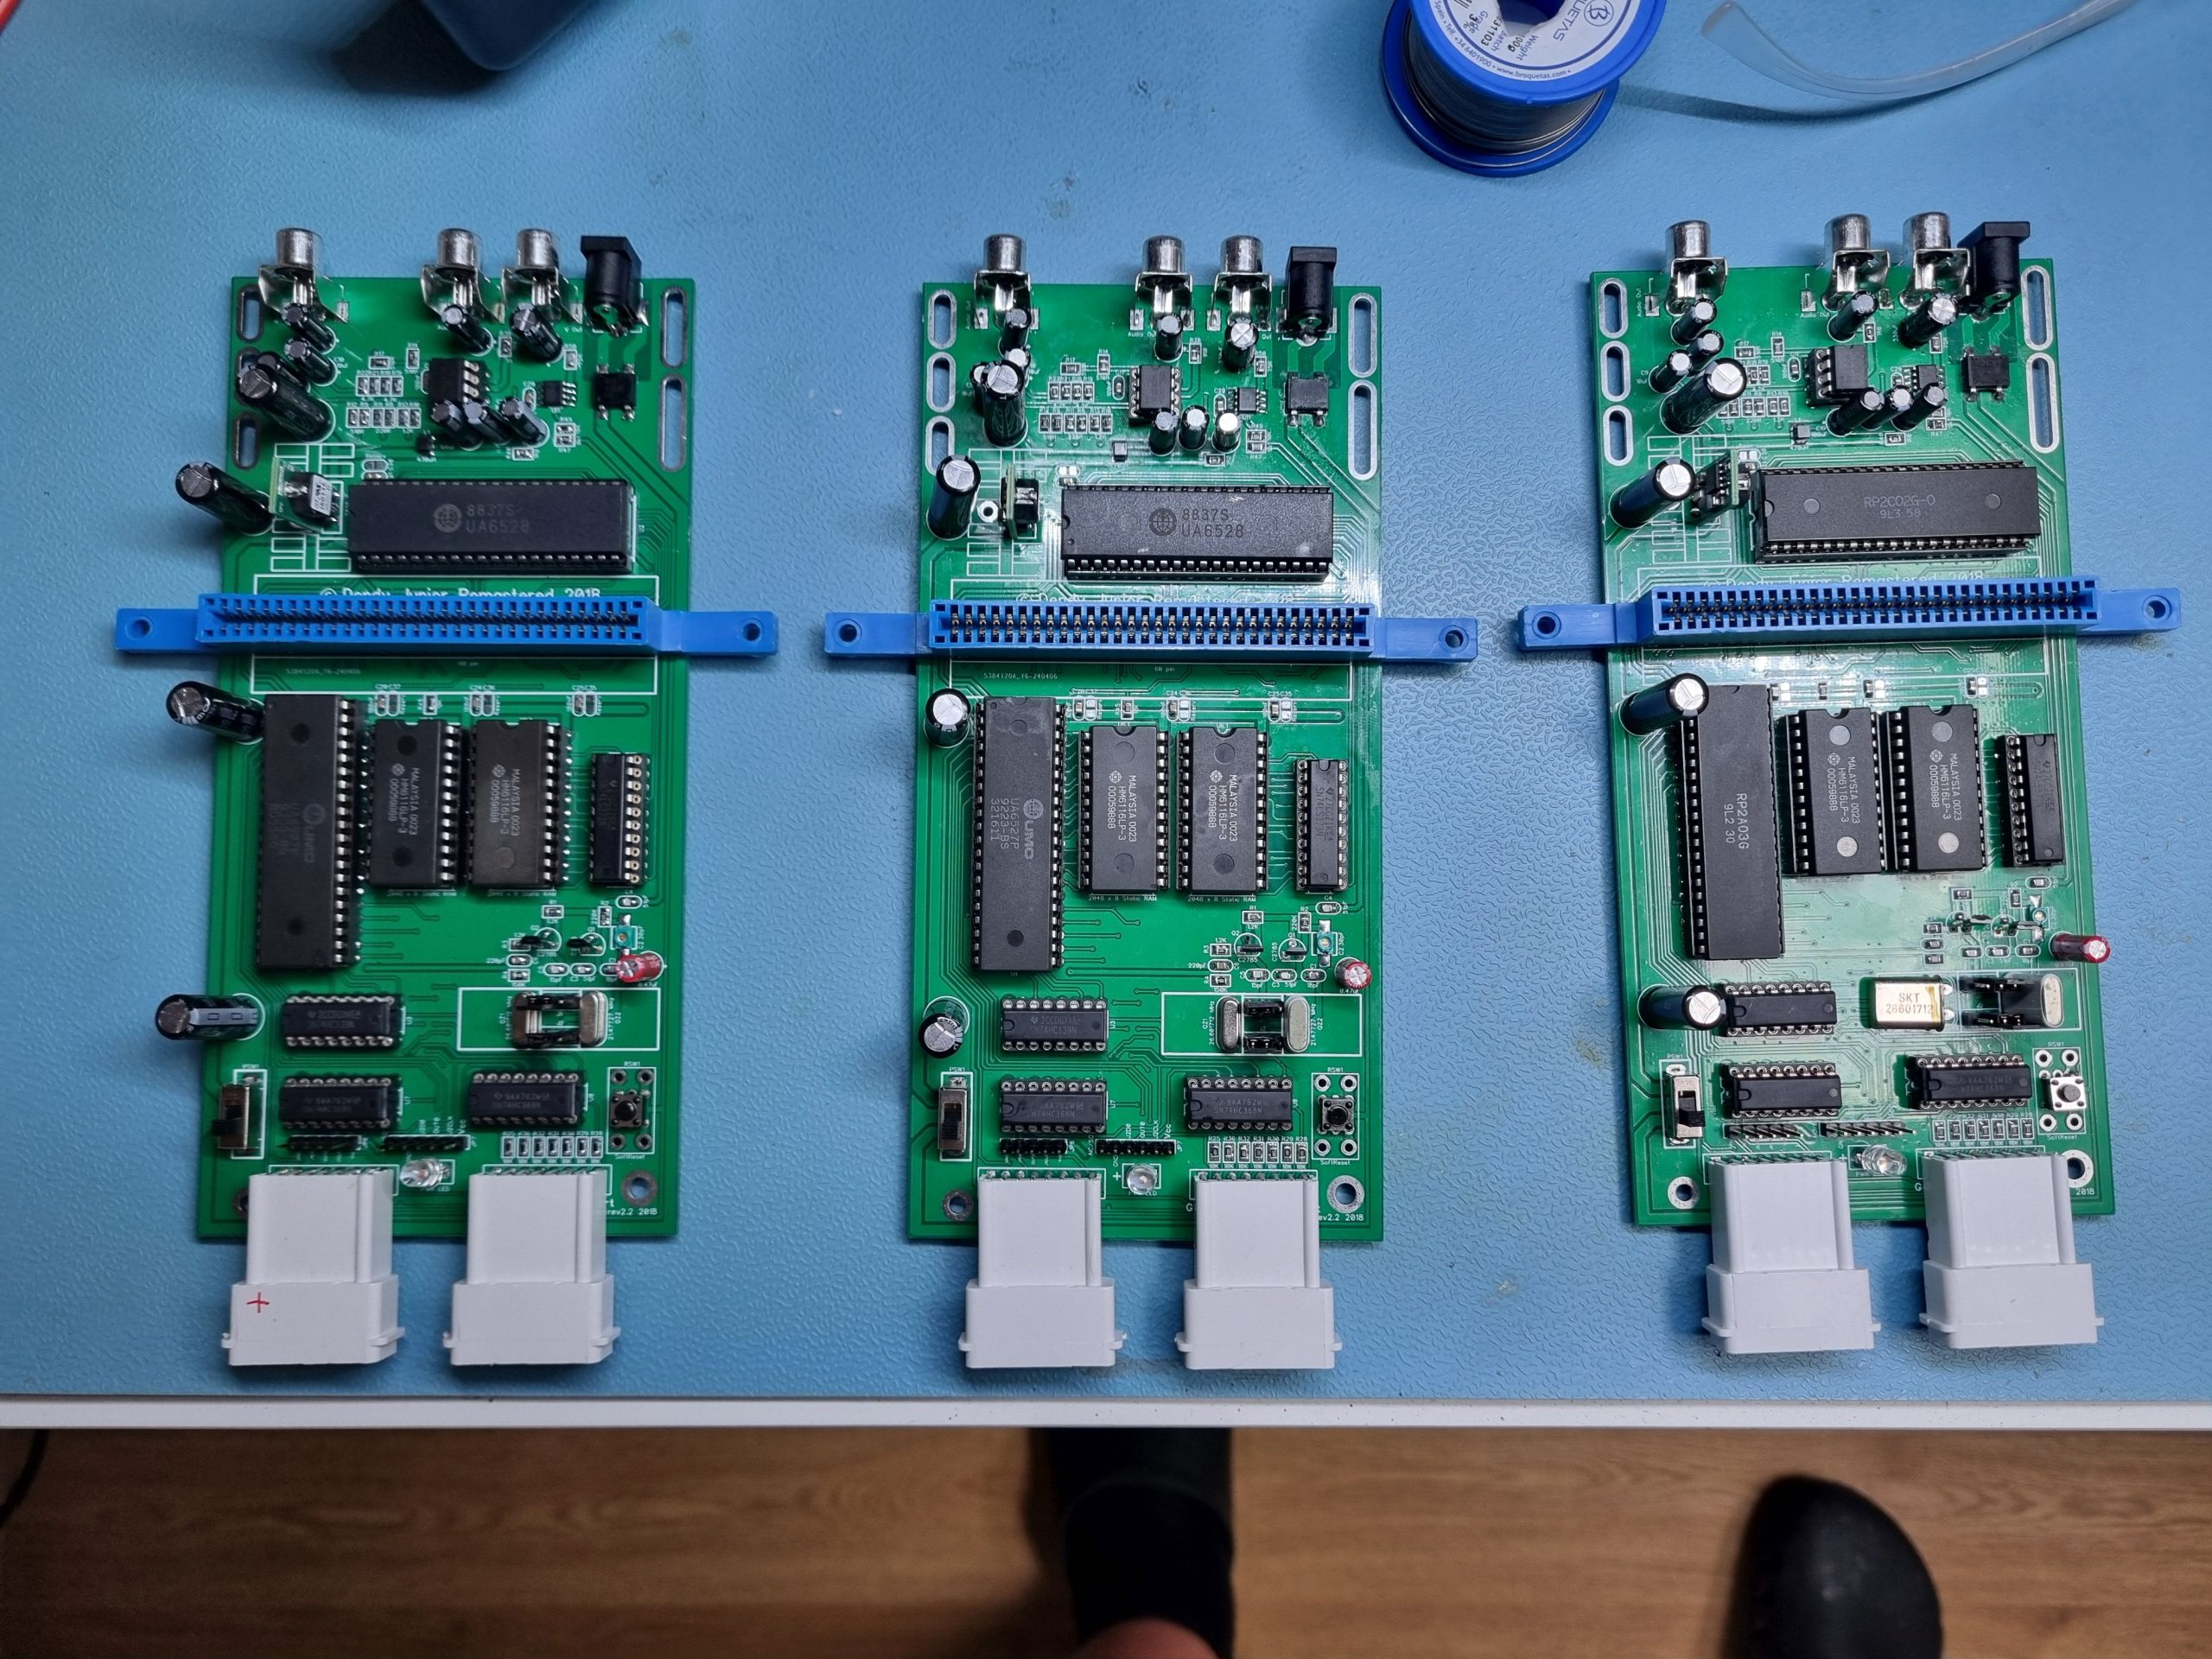
The case was done with Fusion 360. Printed with PLA, used M3 heat insets for screw sockets. The original idea was to make cover from plexy glass so the electronics would be visible, but for now I settled with translucent PLA. One side effect that it amplifies the red LED and it looks much bigger than it is. Overall it came out pretty decent, not the best looking console, but it practical.
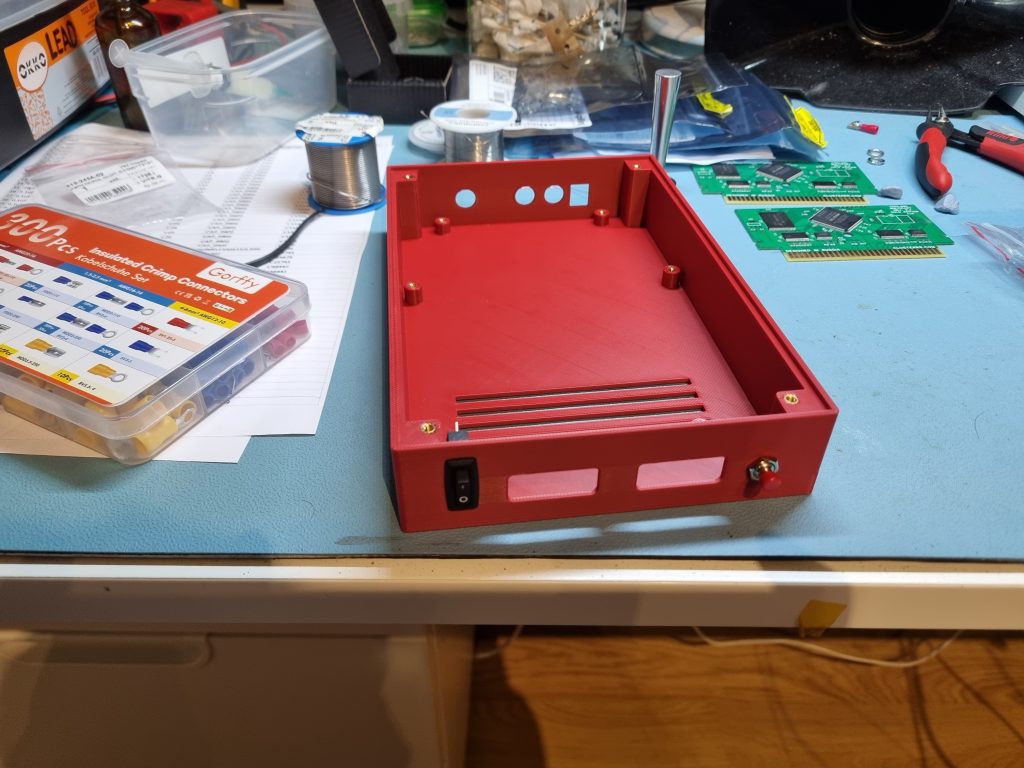
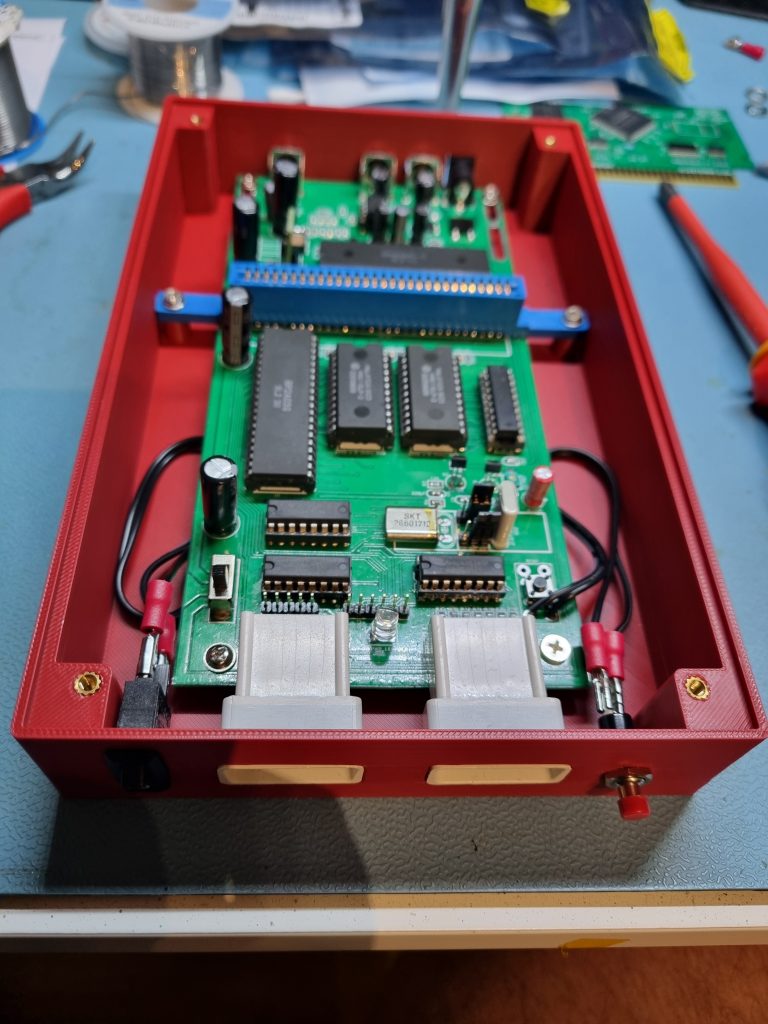
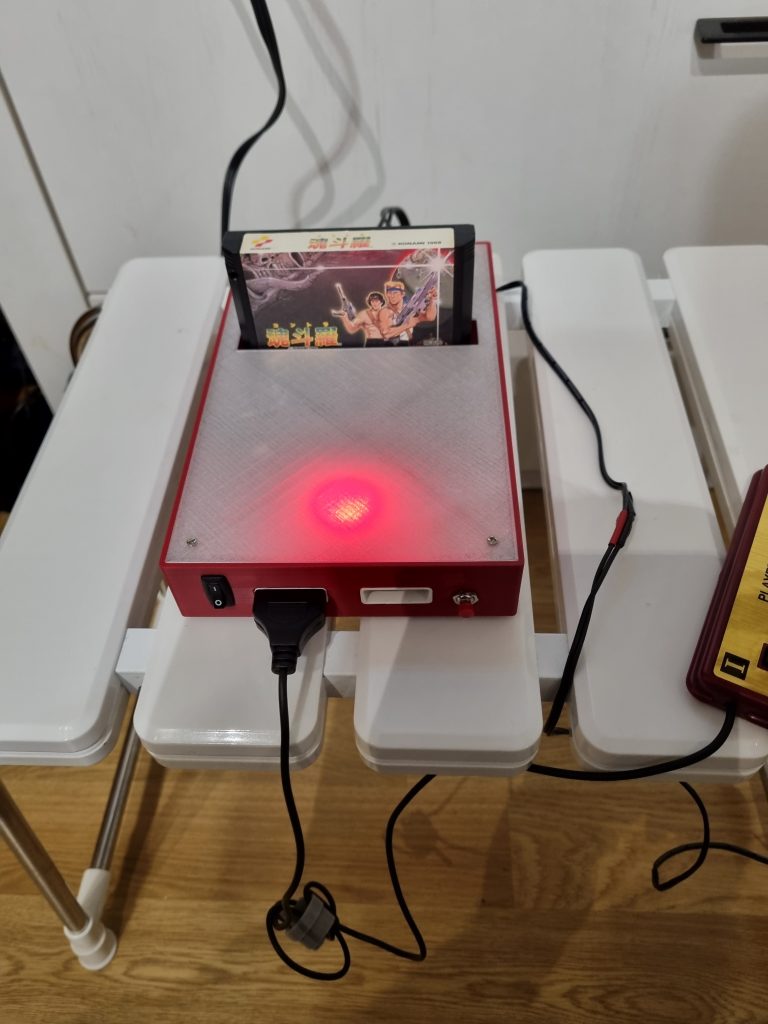
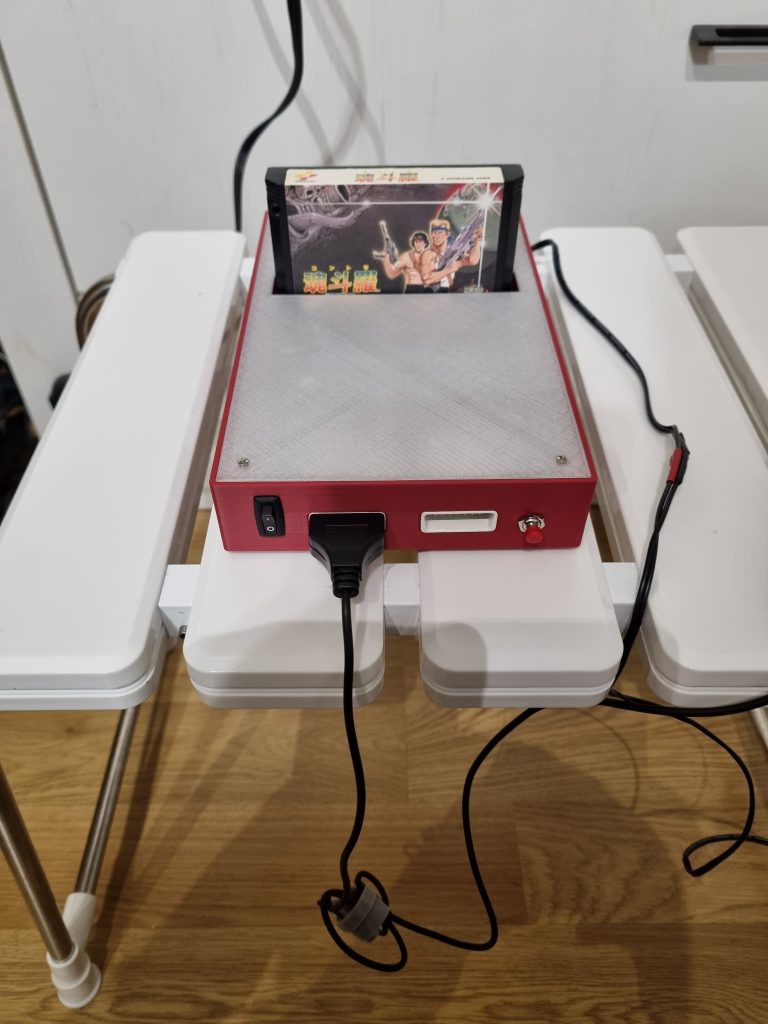
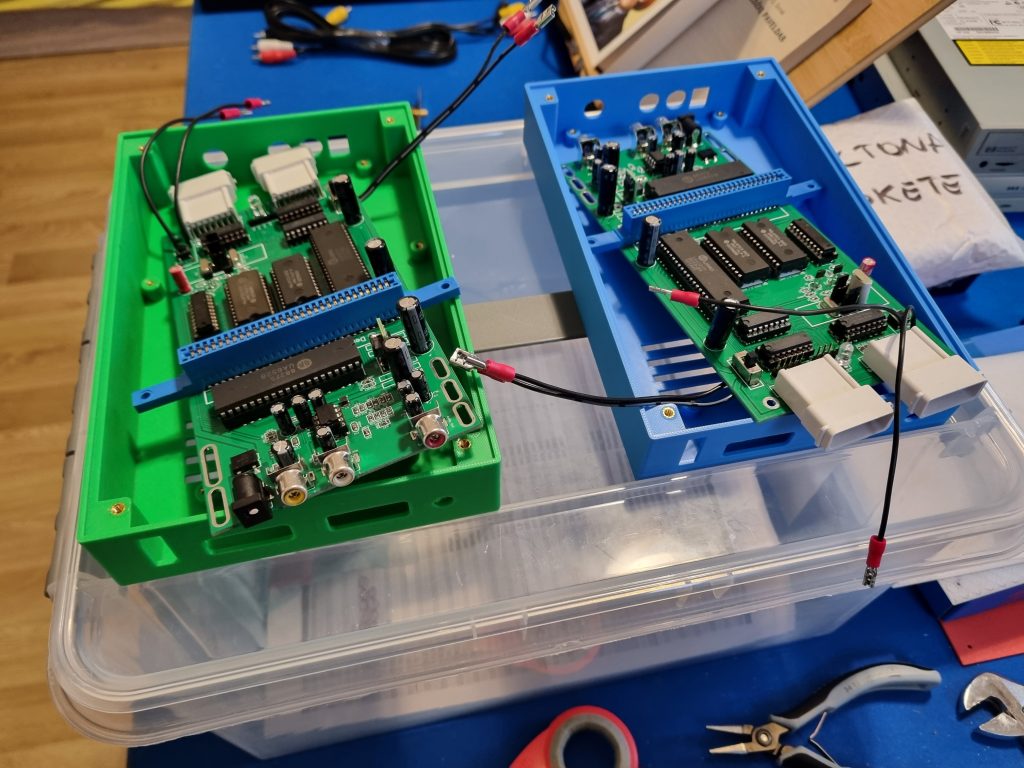
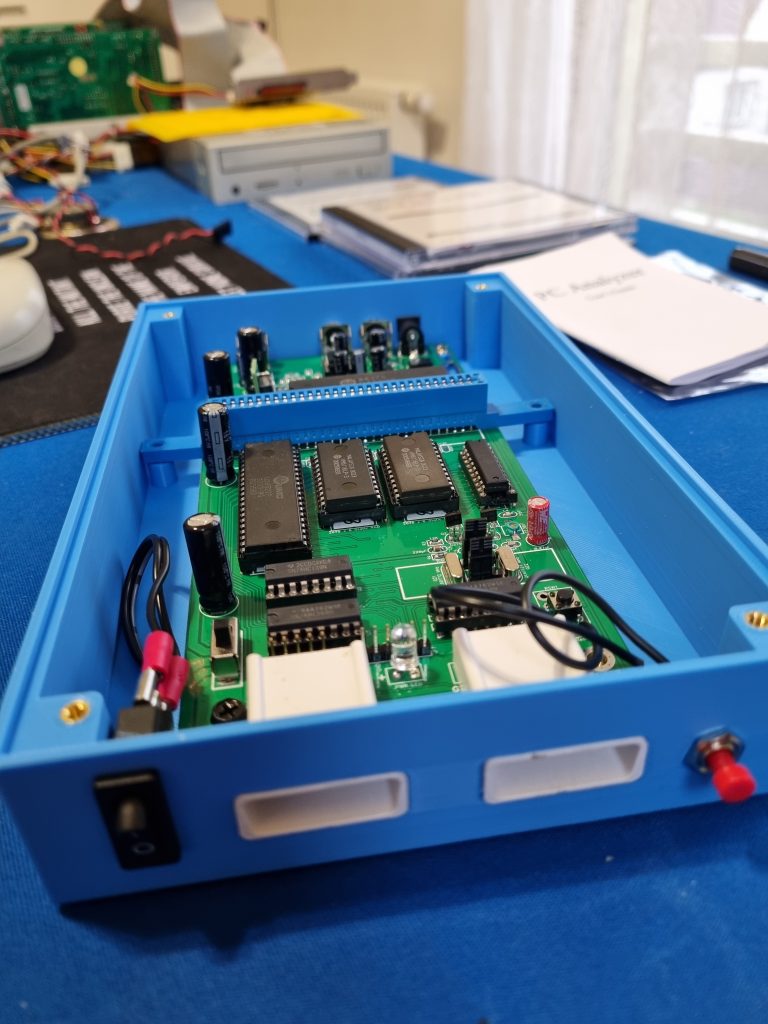
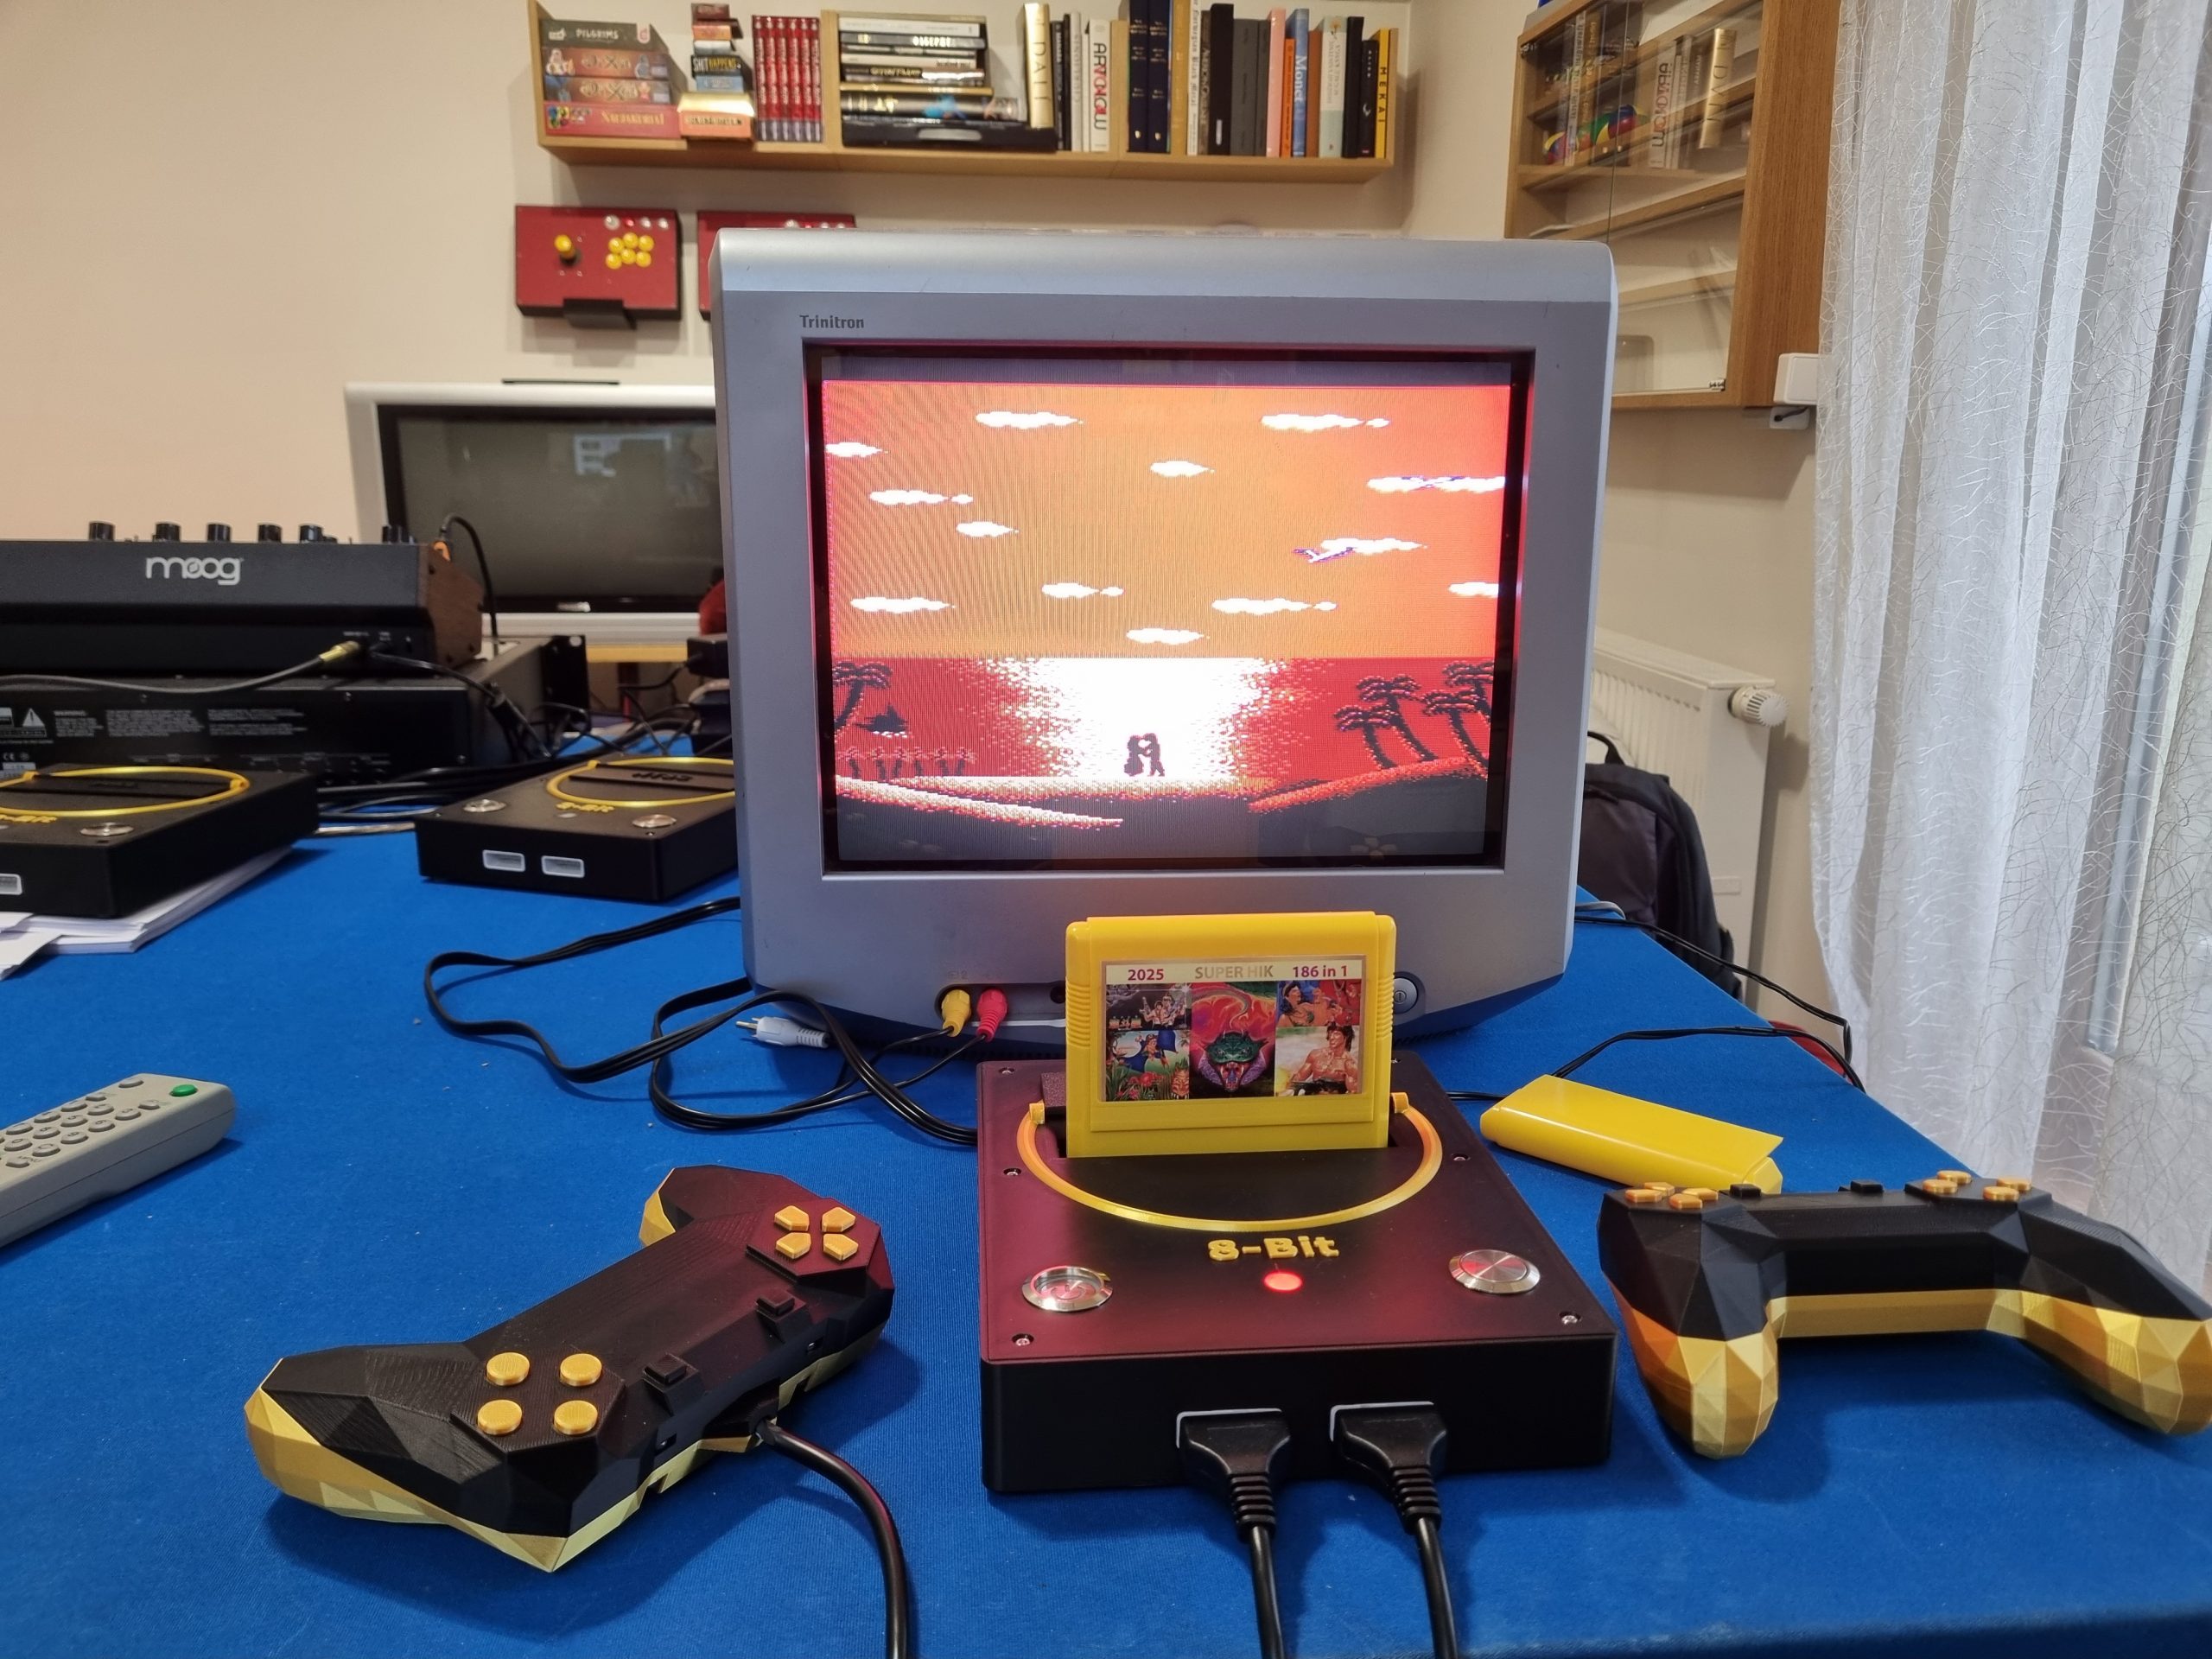
UPDATE! Here is a better case I made. Looks more like a console now.
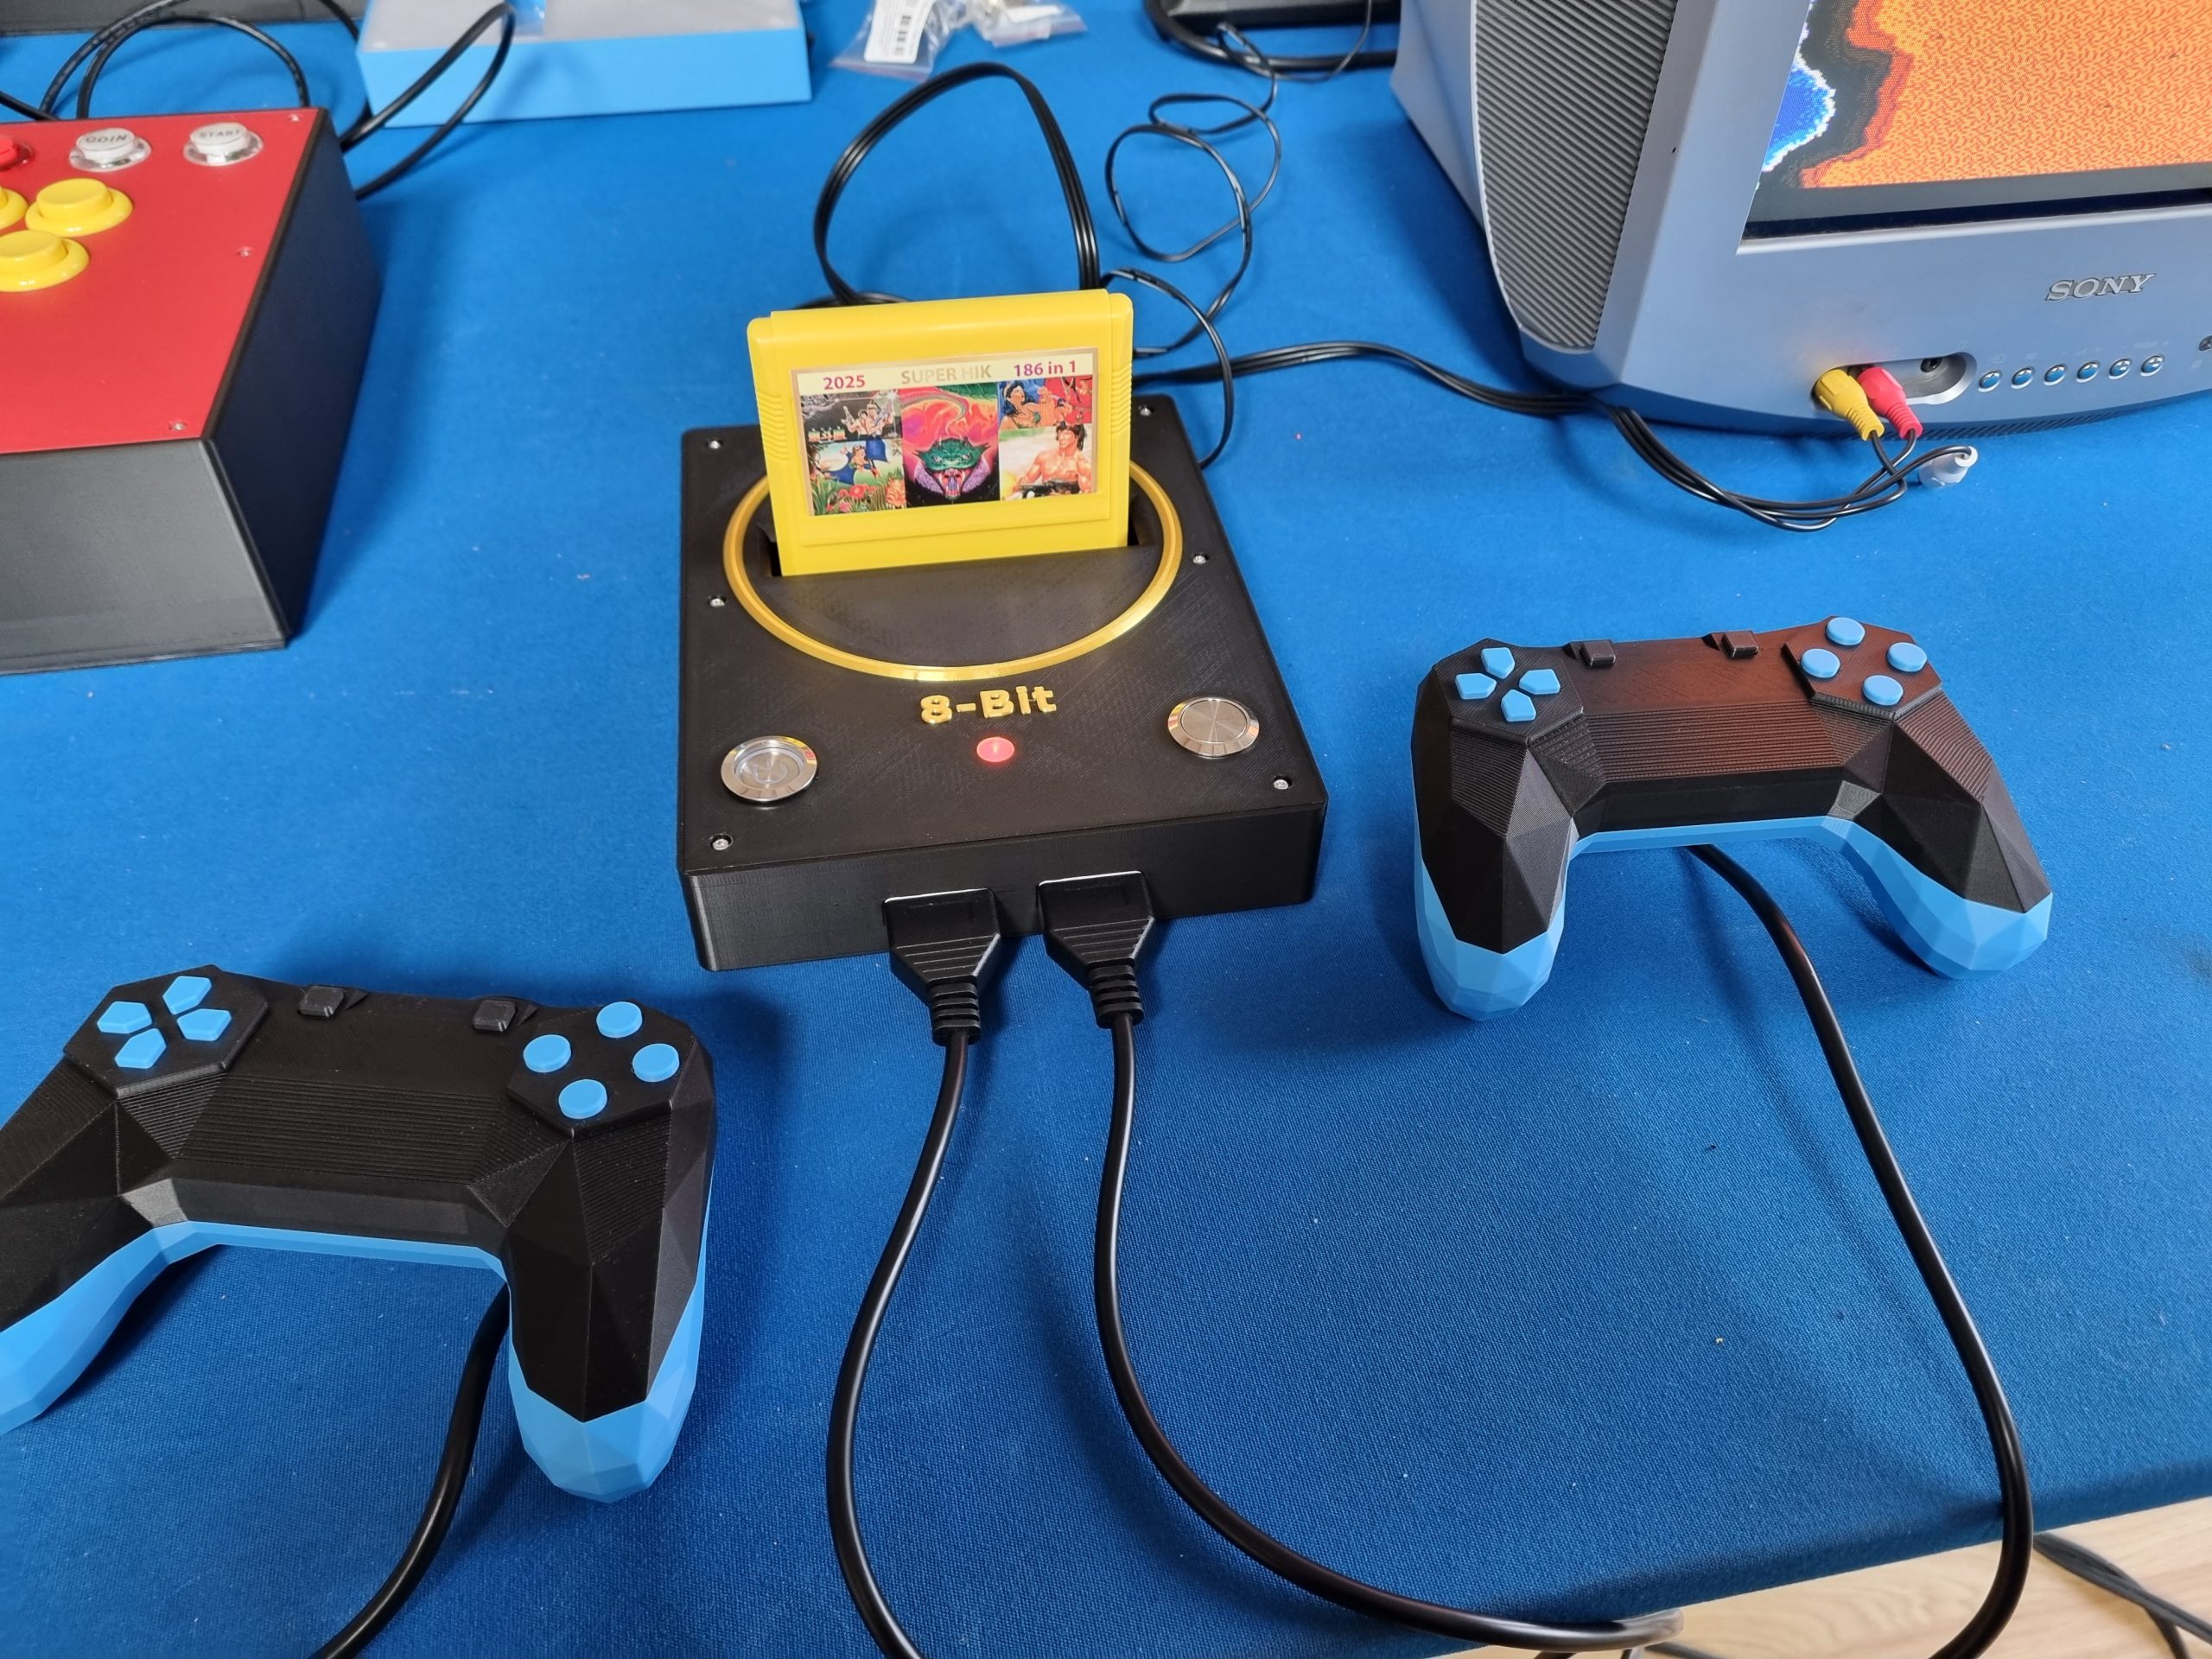
UPDATE! (2025-12-22) Added a cover for the cartridge slit. Now it seems complete at last!
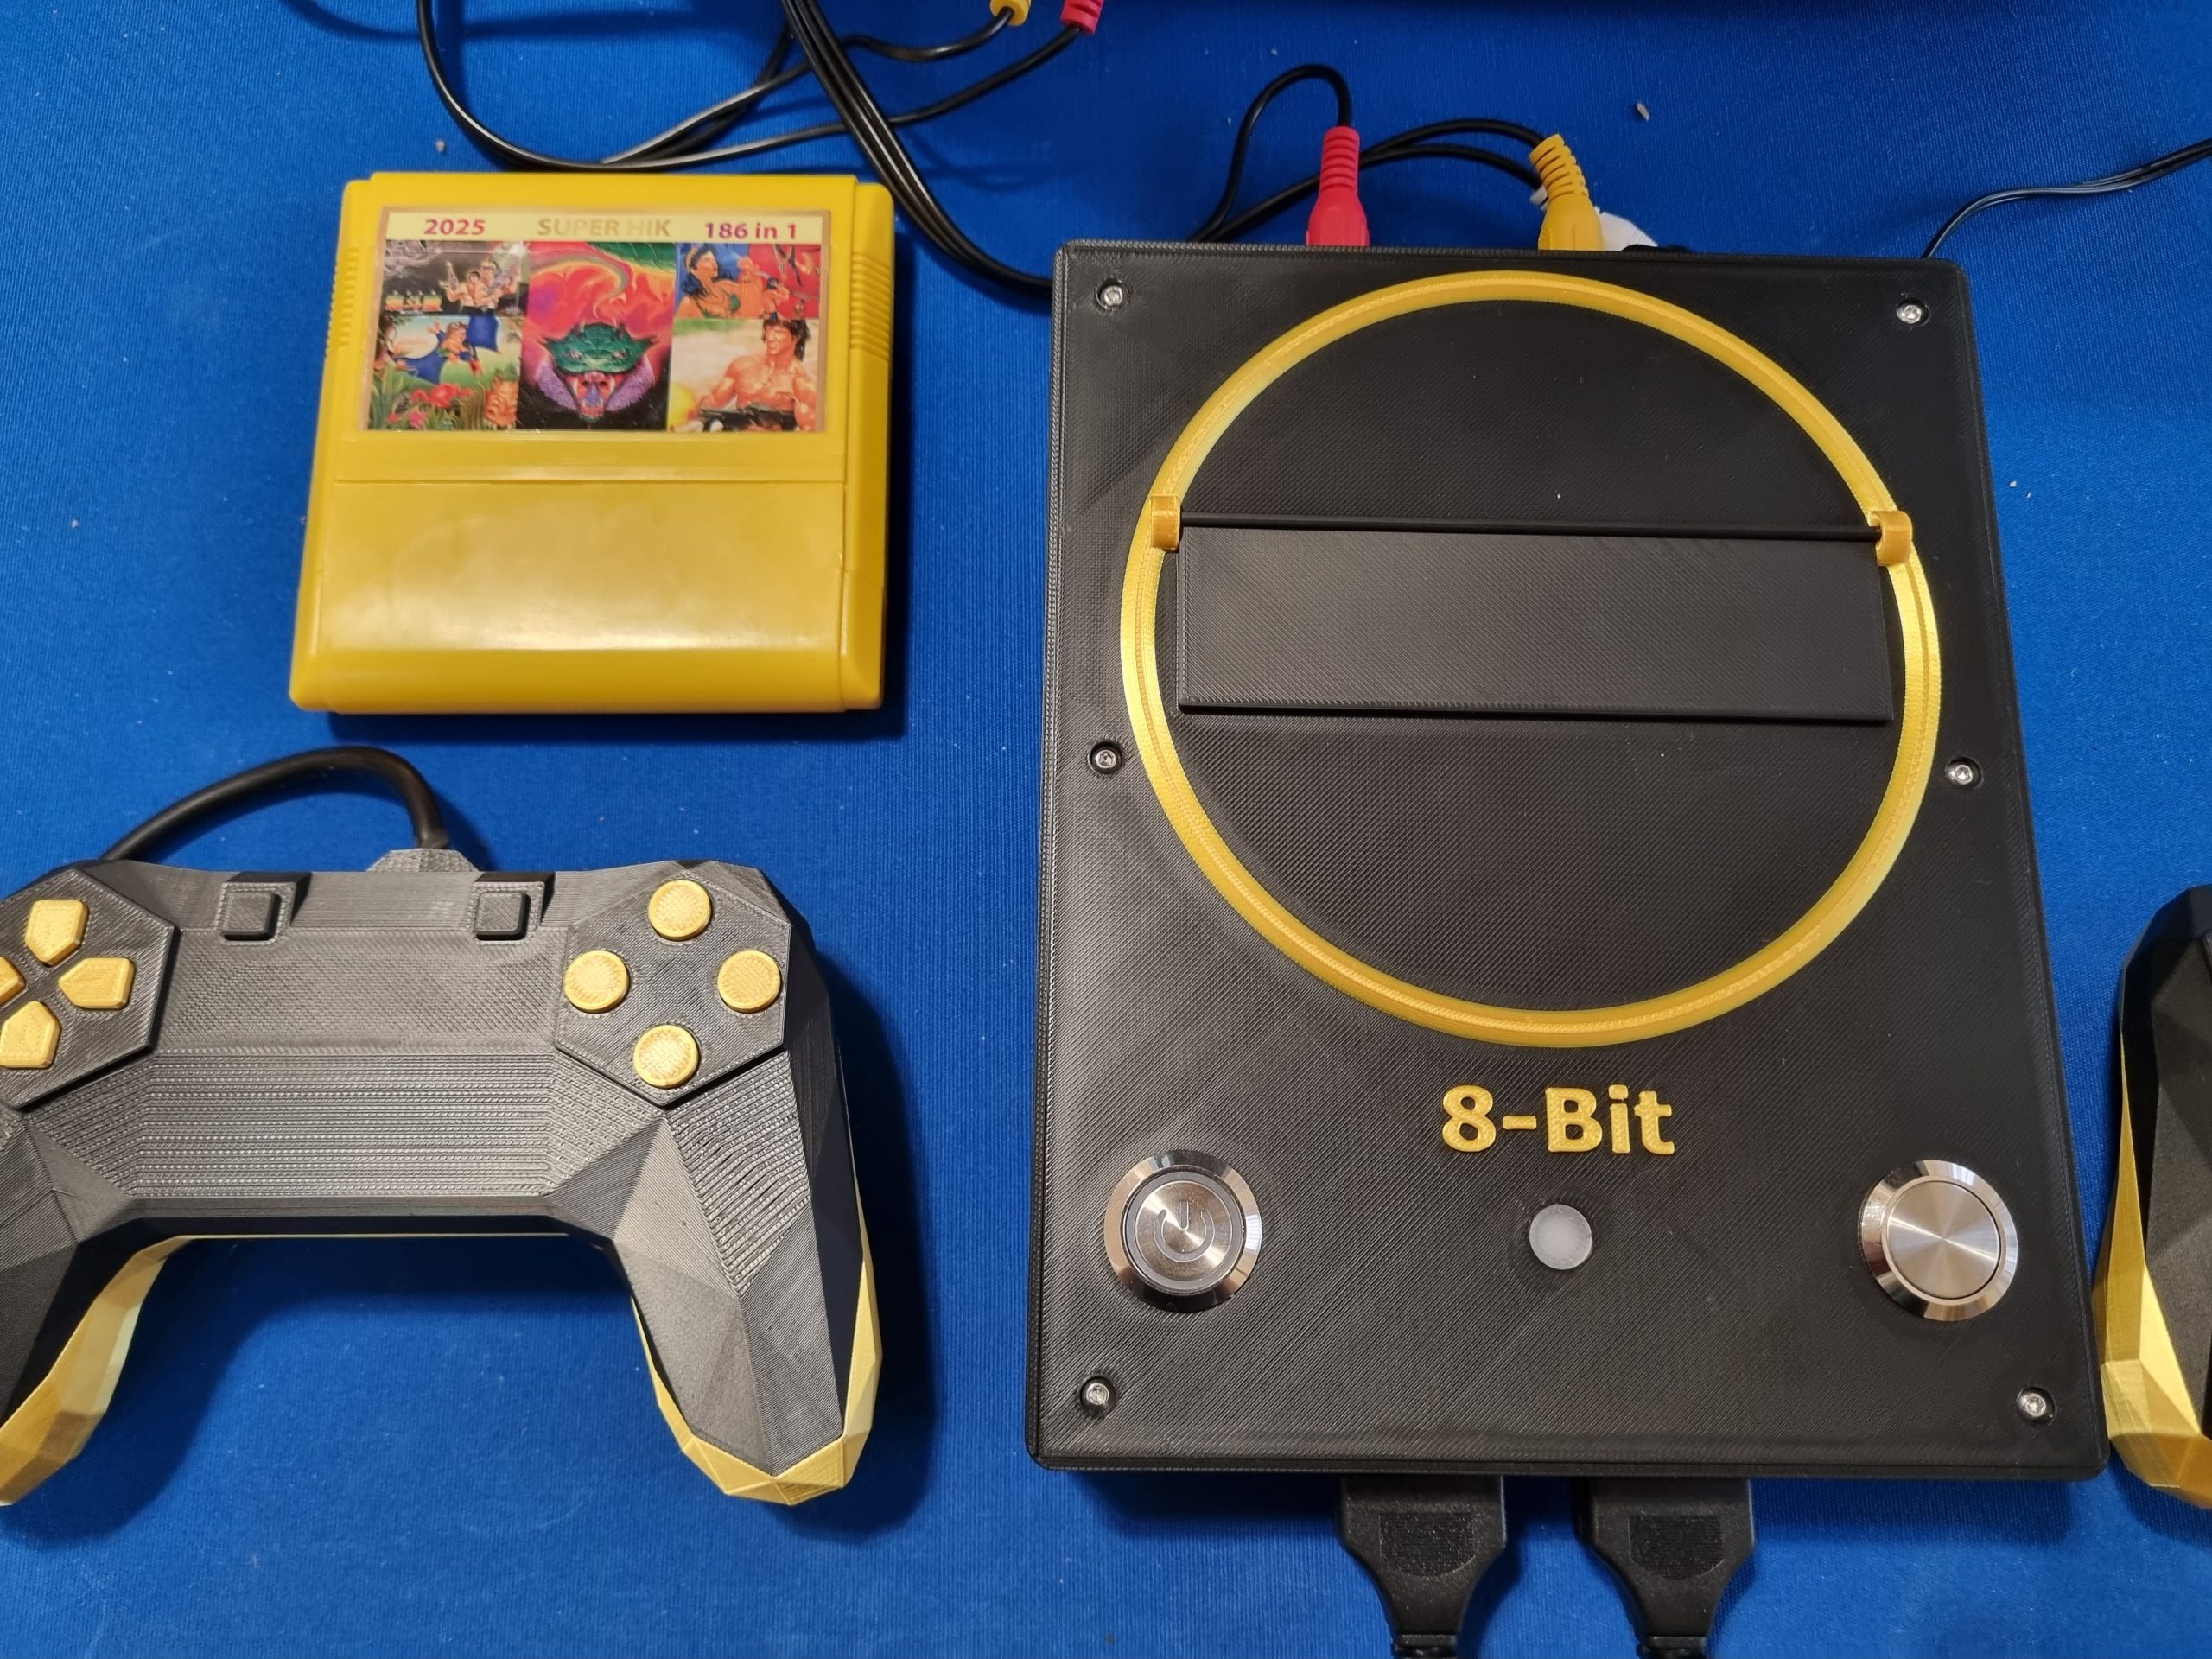
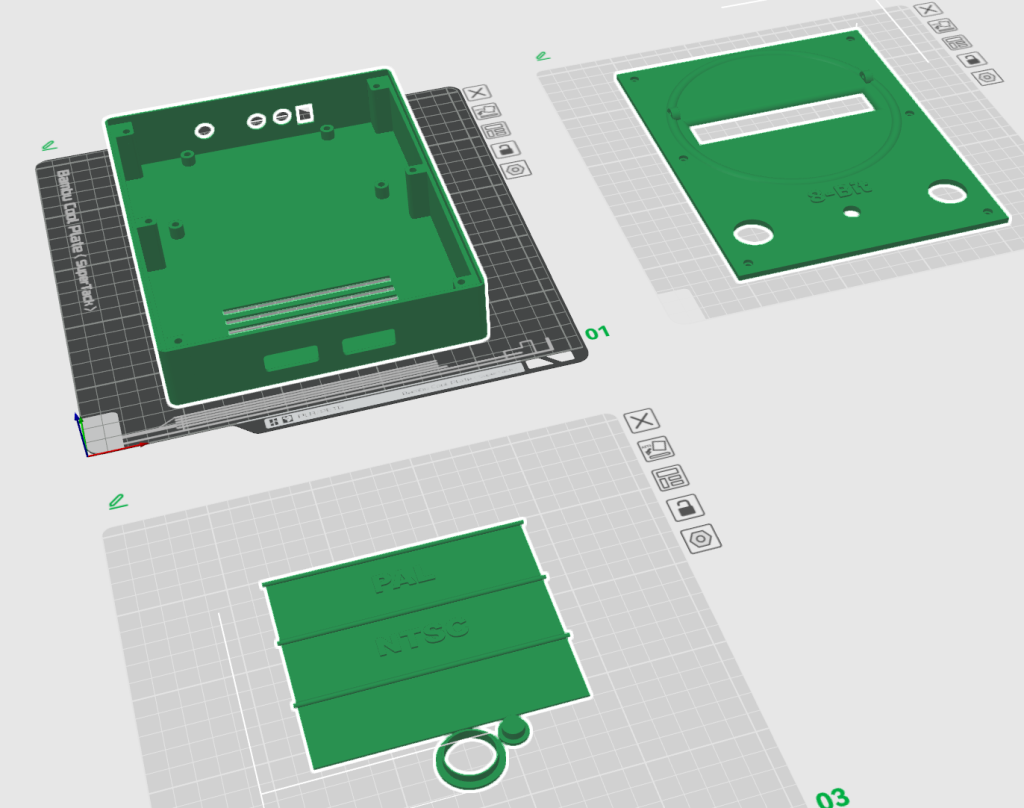
The case is using standard M3 heat inserts. The diameter of size of Power and Reset buttons can be reduced with an added insert if you don’t modify the hole somehow. The LED window should be printed of some translucent plastic.